
History and Track Plan – Construction (This Page) – Control – Scenery
This Page shows how the Original Burton Crumpnold Baseboard was constructed, the track laid and how the major scenic features (The Hills…) were put together.
The Burton Crumpnold’s Baseboards
The layout was built on two 120x120cm boards built using the ‘traditional’ 2×1″ frame with Sundeala panels on top. The 2 panels are located using metal dowels and coach bolts.
At an early stage I realised I’d need an extra space at the back of the layout to hold storage loops so a 15cm ‘extension’ was added using 9mm MDF with softwood ‘outriggers’
The upper section is made from 6 and 9mm MDF panels. The incline is made from 3mm MDF. The MDF is supported using 12mm x 24mm softwood.
The upper sections are designed to be removable should access be required to the storage loops.
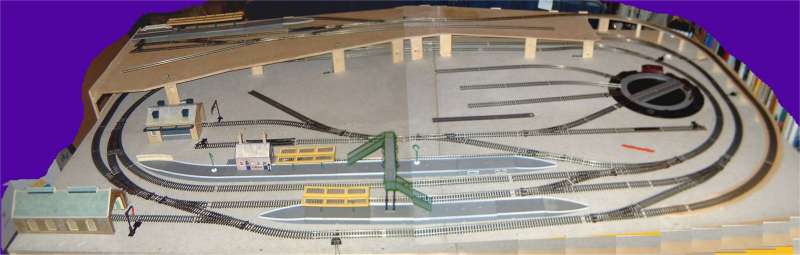
An Early View of the ‘Constructed’ Baseboard with both upper panels in place
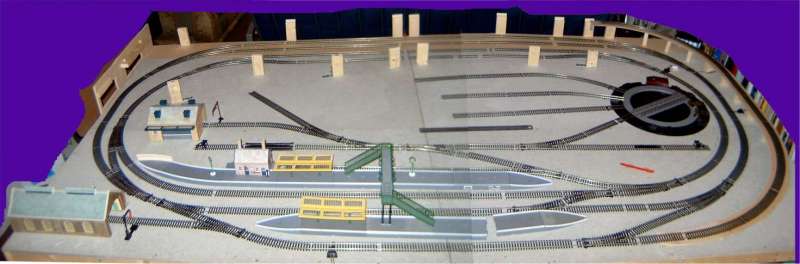
Here the upper panels have been removed to show the supports and hidden loops.
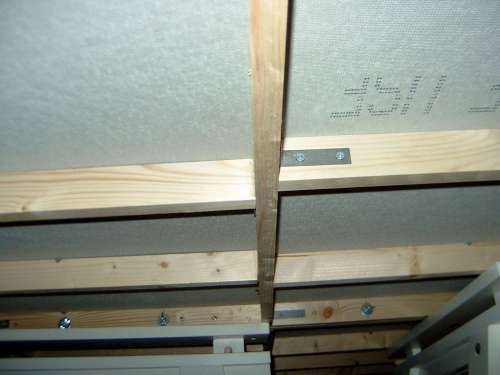
The underground view – showing the Sundeala/softwood structure and the locating bolts
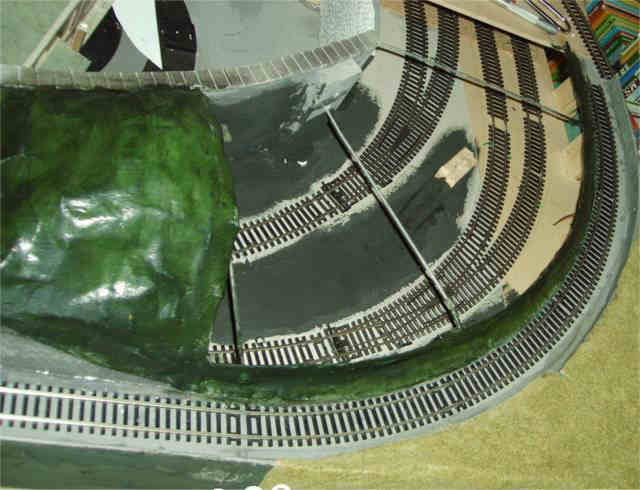
Laying and Balasting the track.
The Original Burton Crumpnold used basic Hornby Track and points.
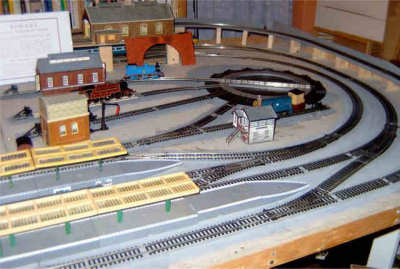
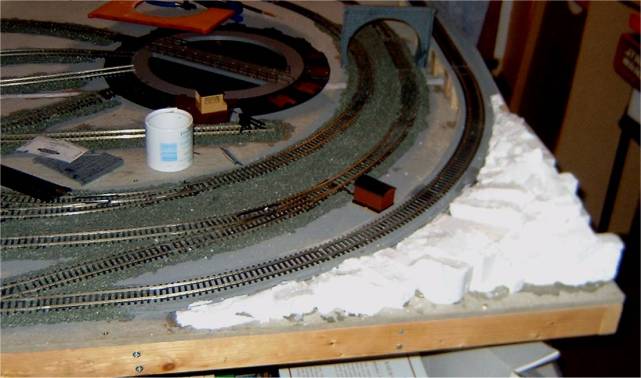
The track is laid onto cork strips to raise the track a bit which makes the trackbed a bit more realistic when it has been ballasted.
The cork track-bed and the surrounding area was then painted grey before the track was laid.
This can be seen in the pictures below.
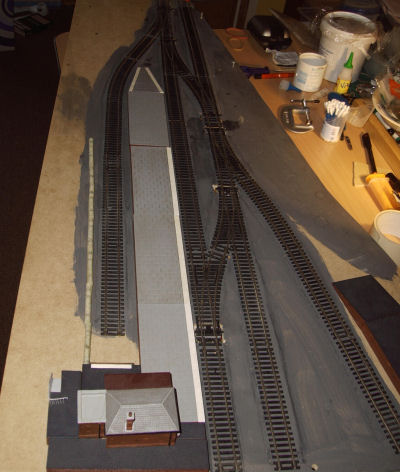
As the track was laid the connections to the track were soldered ready for the big wiring job to follow. This is described in details in the ‘Controlling Burton’ page HERE.
As this my first attempt at a ‘proper’ model railway layout I fell into plenty of traps. And most of those involved the track.
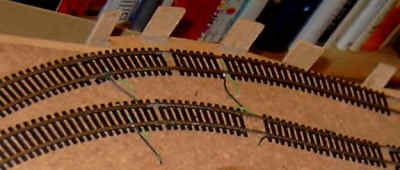
The minimum radius I was using was Hornby ‘2nd which (438mm) as I wanted to use the more recent Hornby and Bachmann ‘Superdetailed’ loco’s that insist on this radius as a minimum.
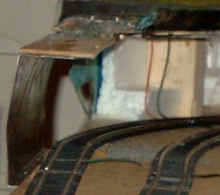
I since discovered that improperly seated curved track can soon reduce this radius. I was more concerned in getting the track to ‘fit neatly’ rather that ‘fit correctly’. The upshot of this was to make these newer locos slow down. stall or even derail. Most of these problems were in the ‘hidden areas of the track where the hidden loops were. In order to correct the radius the tracks curves had to be opened out (almost off the back of the baseboard). One such correction involved removing one of the upper level wooden supports and replacing with metal ‘outrigger’. (See below).
Fortunately (ish) only one area of the main layout needed to be corrected – the inner loop on the left of the layout near the station. As shown below…..Unfortunately it had been ballasted… Careful use of hot soapy water softened the ballast, enabling me to clear it away and relay the track.
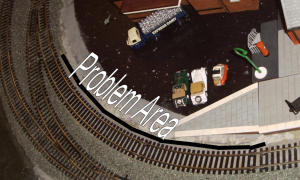
This shows that the watch word really is ‘testing’ – before finalising the track make sure it has been extensively tested with all your loco’s and coaches.
Basic Scenery – The ‘J’ Cloth Approach
The ‘Hill Scenery’ was built using polystyrene off cuts, ‘J’ cloths and PVA glue.
This was used to form a tough ‘High Tech'(?) equivalent to the old school papier-mâché approach.
This produced a very tough base to apply scenery on and is VERY economic.
Polystyrene off cuts glued to the board using PVA glue.
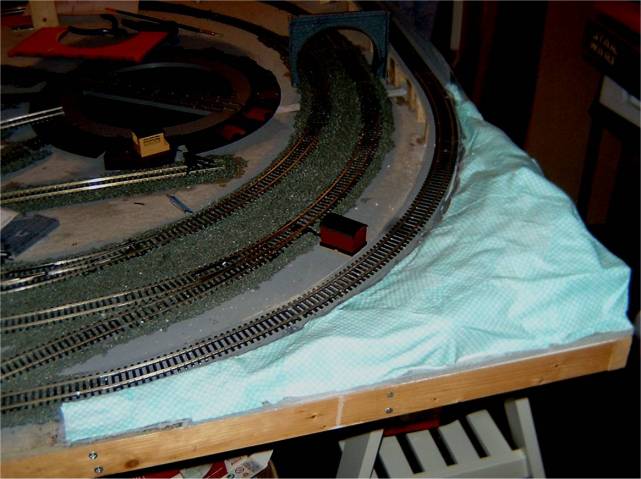
When the Polystyrene was fixed in position ‘J’ cloth strips were laid over it and covered with PVA glue mixed with water (50/50).
I soaked the strips in the glue mix before laying them. It was a bit messy but make it easier to position the cloth.
When the Glue had dried I added another layer of PVA glue.
When this had dried the surface was tough and perfect for adding paint, scatter or grass flock matting as above.
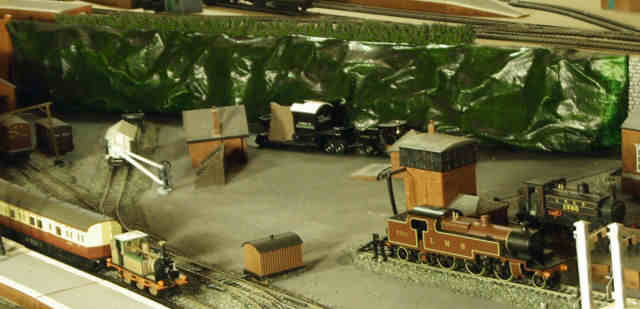
Movable Hill & ‘The Road’
I needed a hill to give the route to the upper station a ‘scenic break’ – but the section had to be removable for general access and to rescue derailed trains.
I’ve also decided to add a road from the lower station to the upper level with a level crossing. This was not part of the original design…
The road solved the problem of how to get to the lower station by car. More importantly it meant that I could have a level crossing…which meant that I could employ the cute Skaledale Level Crossing Signal box.
The removable hill has made using the ‘J’ cloth method described abover based on a piece of hardboard cut to shape. The section was supported above the track using thick ‘coat hanger’ wire glued into wood supports as it has to span 4 tracks. The ‘hill’ is located using wood dowels.
I used ‘J’ cloth/PVA reinforced with wire mesh to make a ‘lip’ from the main board so the removable section would be a snug fit.
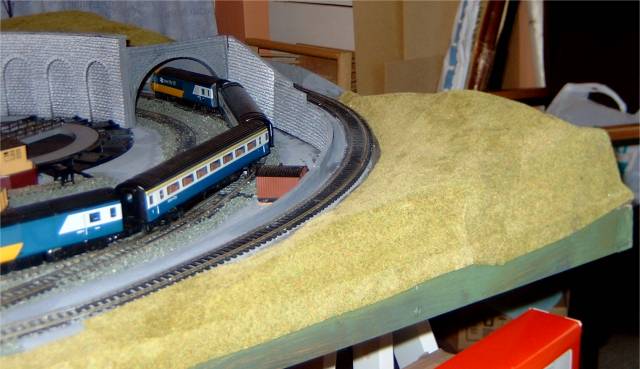
The next job here was to add some scatter and add some foliage to cover up the join.
The road section (painted black) can be seen in the above photo.
The climb has been built using hardboard supported with timber faced with ‘stone wall’ foam sheets from Faller.
Next job here is to add a footpath next to the road.
The section of the track underneath the removable hill can be seen here.
The ‘Wall or Cliff’
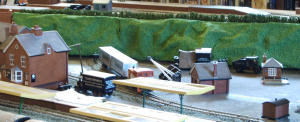
After ‘The Hill’ was completed the next job was to tackle the ‘Cliff’ or Wall section behind the lower station.
The ‘wall’ at the back of the lower station area covers up the gap between the lower board and the upper station. I had already used ‘Faller’ stone walling around most of the lower area, mostly because there was no room for a slope, however, behind the station I fancied something a bit ‘greener’.
The wall was make of hardboard and thin MDF sheets with ‘legs’ glued onto the front. I used dowels glued into the sundeala board to locate the sections in place. This way they can be removed if required.
I glued pieces of expanded polystyrene to the board to give it the basic shape I was after.
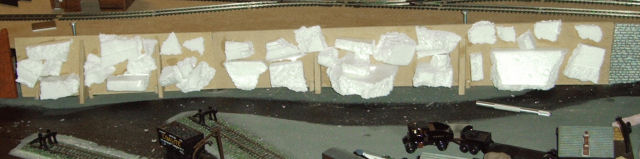
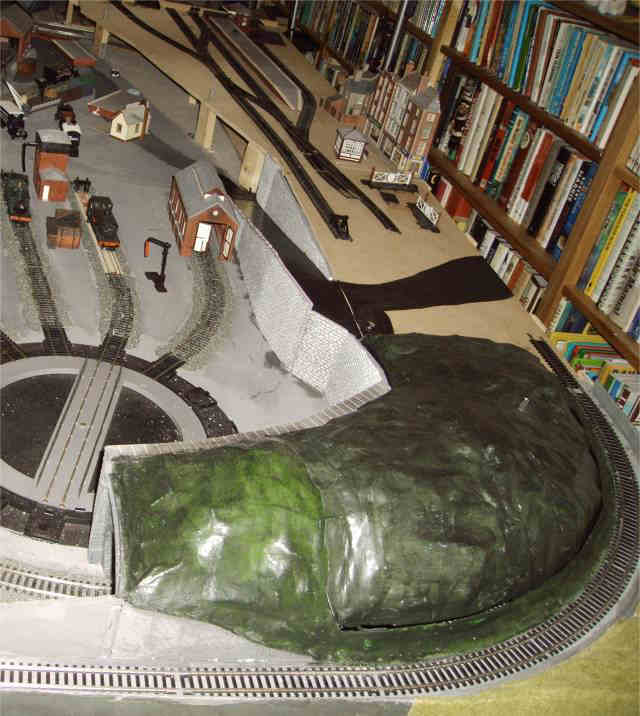
Then it was a case of applying ‘J’cloth & PVA to cover the polystyrene and board. After the first couple of coats of PVA glue I dropped in small pieces of polystyrene from underneath to adjust the shape as required and to add a bit more strength.
The last 2 coats of PVA were mixed with poster paint to give the shape a basic background colour.
As on the hill the next job was to add some grass scatter to properly finish it off – In my experience grass slopes don’t shine like this one ……
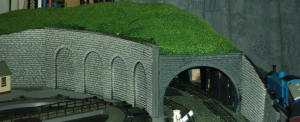
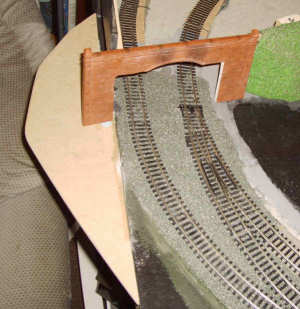
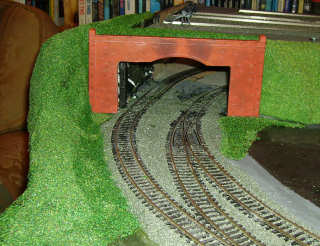
The Final Tunnel
Once the cliff was complete I decided to do something to make the tunnel entrance on the left side of the layout a little more realistic. For this I added a small board extension to build the scenery up from (‘J’ cloth and PVA again) . The results can be seen below.
By this point the basic layout was complete… Now the task was to wire it all up…