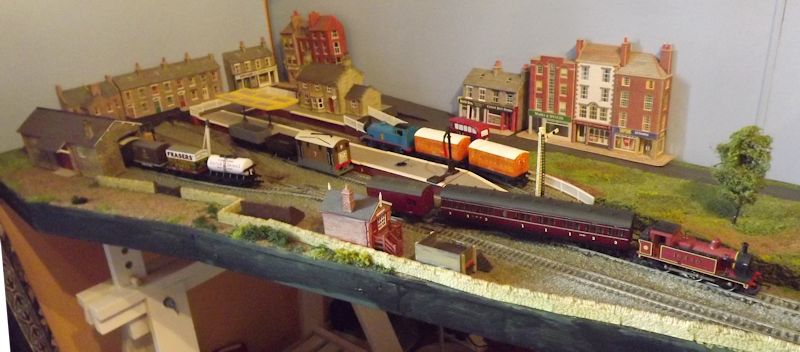
Burton Phoenix was ‘Redeployed’ into our Dining room to allow easy access to the front of the layout. It has also allowed me to take a single photograph of the layout end to end. The Railway room was long long enough to put all sections up.
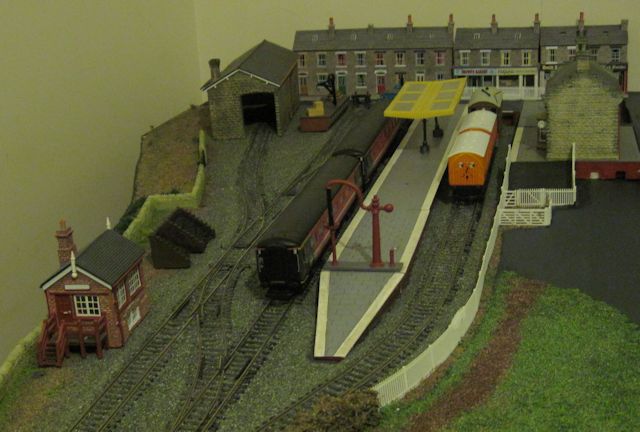
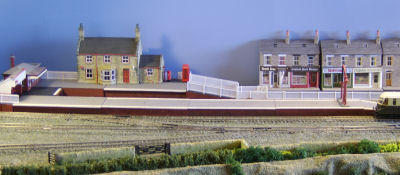
This is a view of the station end of the layout.
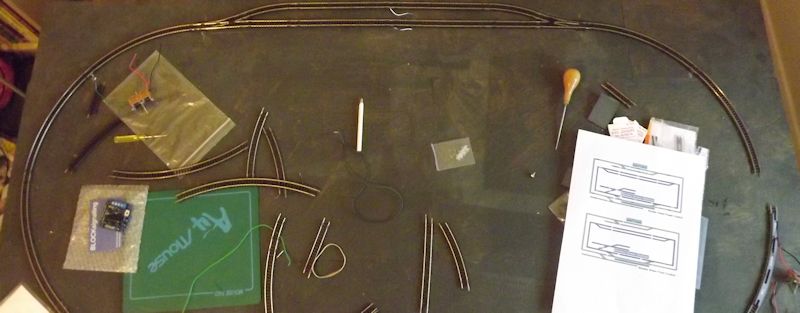
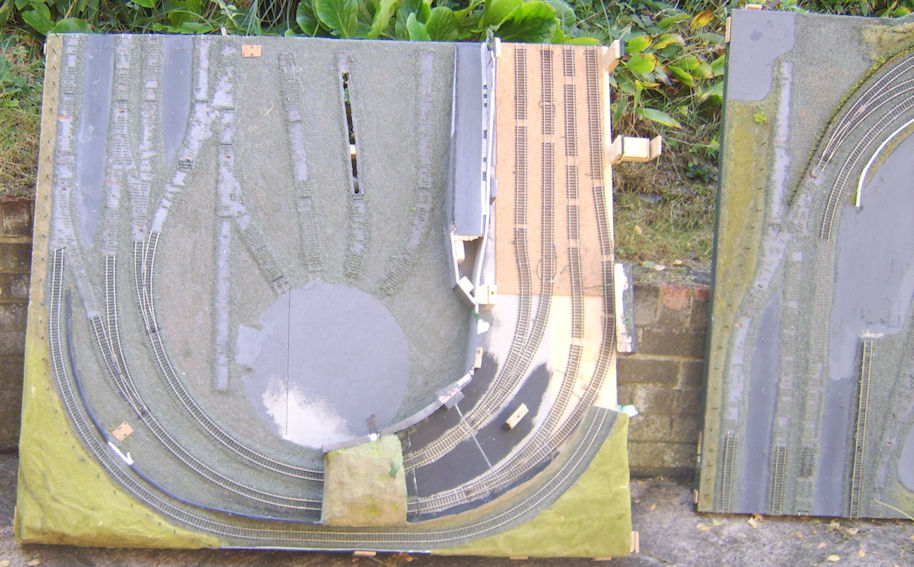
Now I have some space in the ‘Railway Room’ I have started work on the N Gauge ‘Stowey Green’ Layout.
As this is my first ‘N’ gauge project I have started at the ‘hidden’ end. I am in the processes of powering up the lower rear loop and positioning the point motors for it.
… THEN EVERYTHING CHANGED – I CHANGED JOB & MOVED HOUSE and the Trains and Layouts were packed away…
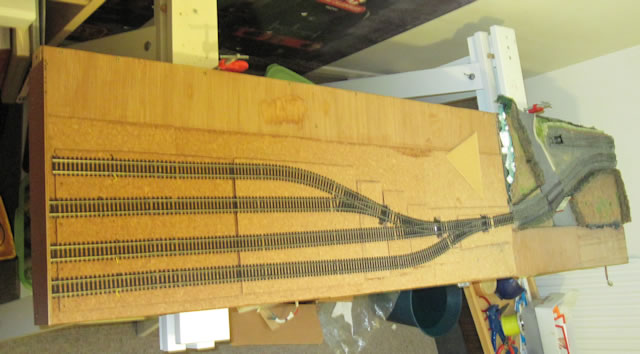
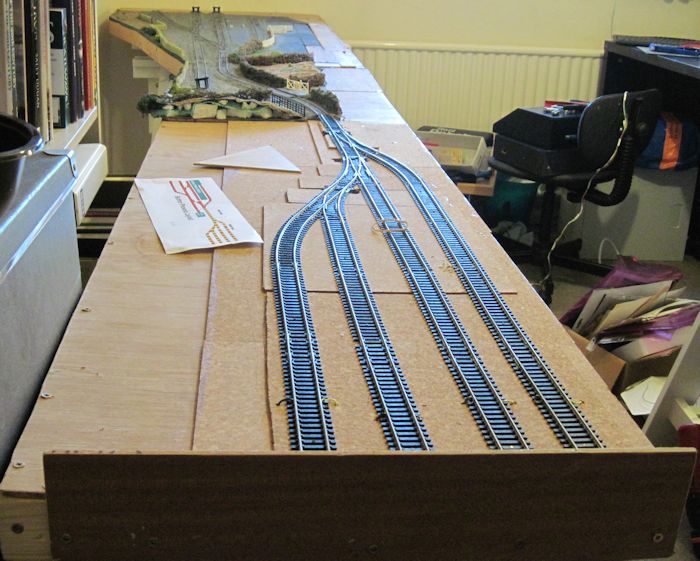
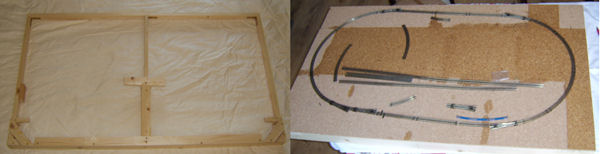
Burton Phoenix uses the Upper Station and small scenery sections of the original Burton Crumpnold layout. All that was missing is a track section to run into. To add usability I decoded to make a ‘Fiddle Yard’ comprising a number of sidings to run trains to and from. The following photograph shows the ‘bare’ fiddle yard attached to the scenery board.
30/05/2013 Work has been continuing on the Burton Phoenix where I have finalised the track positions of the fiddle yard and fitted the point motors, rescued from Burton Crumpnold.
Next comes the wiring, which is the major task needed for the is layout, as I have to adapt the wiring loom for the old station board to work with a new plug/socket fitted to the board. In addition I need a simple way to connect the other 2 boards to a new control panel. The current schematic for Burton Phoenix is shown below, showing the power section ‘cab control’ control over the 3 boards.
27/10/2013 I have wired up all the boards for Burton Phoenix. All the track sections and point motors are wired and ready to be connected to the power and control ‘circuits’ using 25way DSub connectors., recycled from the original layout..
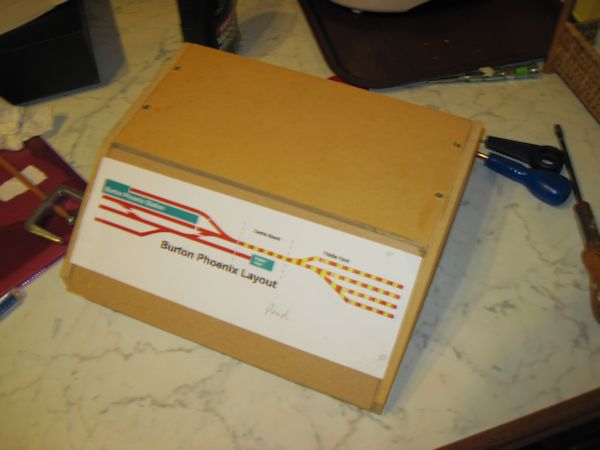
Now everything is wired it was time to build the control panel for it.
,
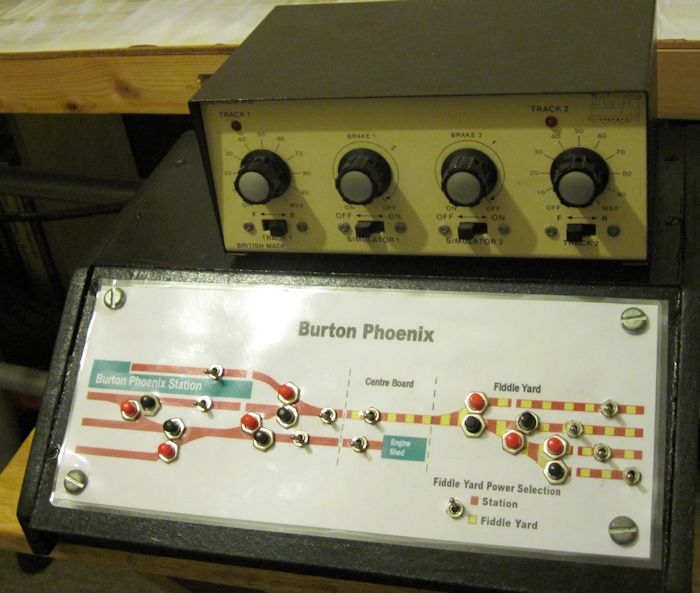
The Burton Phoenix control panel is built out of off-cuts of MDF and with a screw on Hardboard panel with a laminated diagram. The idea with the design of the control box is that my Gaugemaster twin controller sits on top with the ‘cab control’ power selection and and point control switches operate from a ‘Mimic’ diagram on the front. The ‘Mimic’ panel selection are fed to the layout from sockets at the back of the box.
…Now the control box is ‘built’ the next stage is to get the soldering iron back out and wire up the control panel and fit all the switches. Then it will be time to make up the connecting cables between the control box and the layout sections… ….And then maybe we can have a go running some trains…
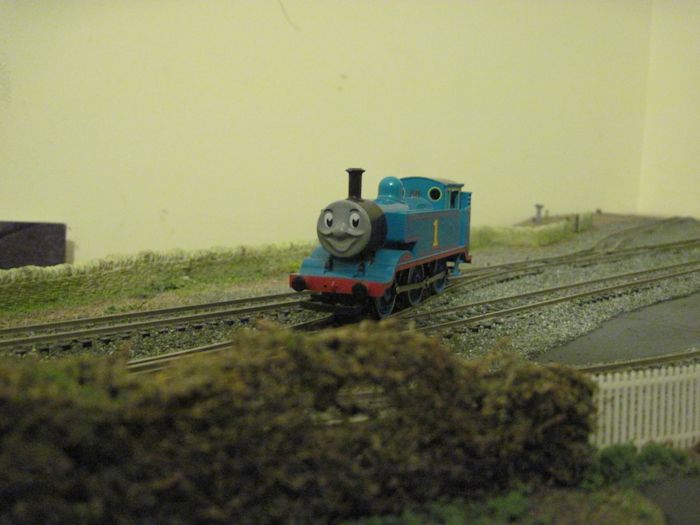
08/12/2013 Today I managed to test the new Burton Phoenix control panel and layout wiring… BY ACTUALLY MANGING TO RUN AN ENGINE… The first time I have been able to run a ‘OO’ gauge loco for an embarrassing 5 years…
I chose Thomas for this grand adventure – as it was the first tank engine to hand. His mission was to ensure all the ‘Cab Control’ power sections and the point switches all worked. After spending the last few days wiring up the box and making up the connections cables to the layout I was pleased to find only a couple of minor issues to sort out
Here is the completed Control Panel – Painted and ‘Wired up’ – complete with the controller
This is also the first time that the complete ‘End to End’ layout was put together… Now to add the scenery to ‘Hide’ the fiddle yard..
30/12/2013 Just before the year end – and as promised to my friends at AAR Models. Burton Phoenix is Running. Admittedly there are a number of small scenery jobs to do… but that is mostly tweaking.
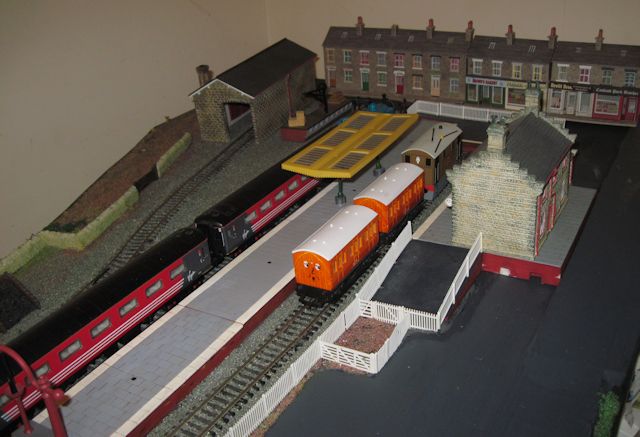
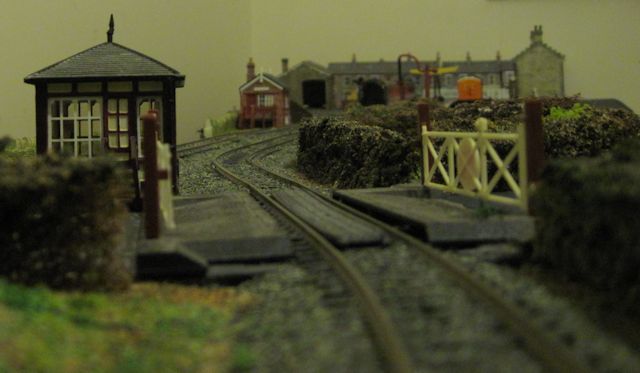
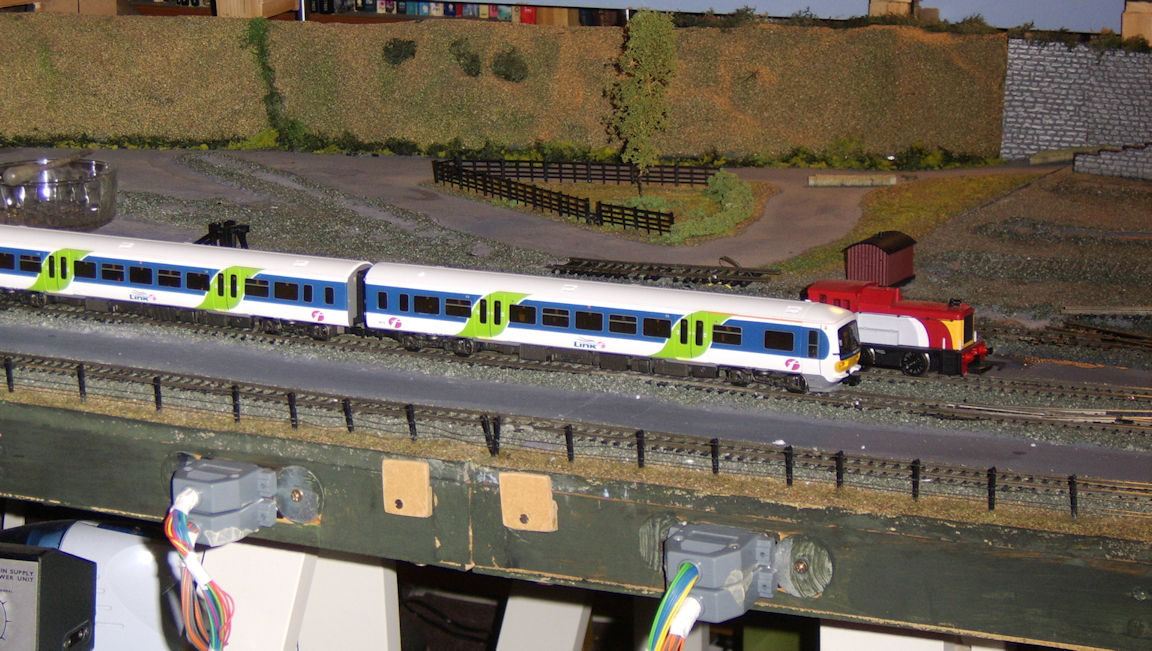
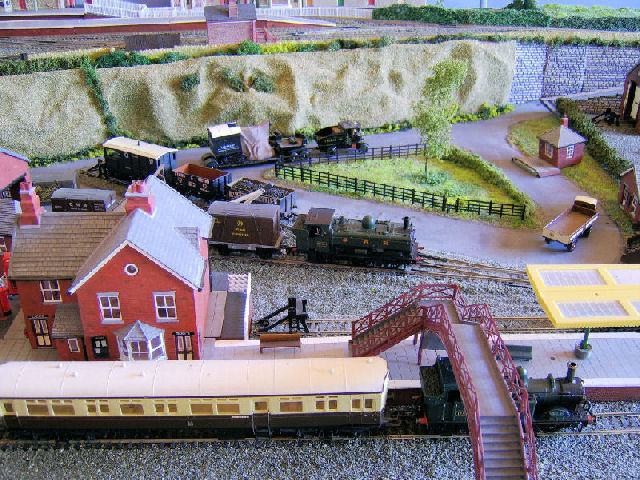
Here are a couple of views of the Station..
…The reason Thomas is pulling a couple of Virgin Mk2’s – hardly appropriate for the Logo.. or the layout is to check for clearances in the station and the tunnel mouth to the fiddle yard…
… As you can see I’ve a tiny bit to do to cover up the joins in the hill over the tunnel (which hides the fiddle yard).
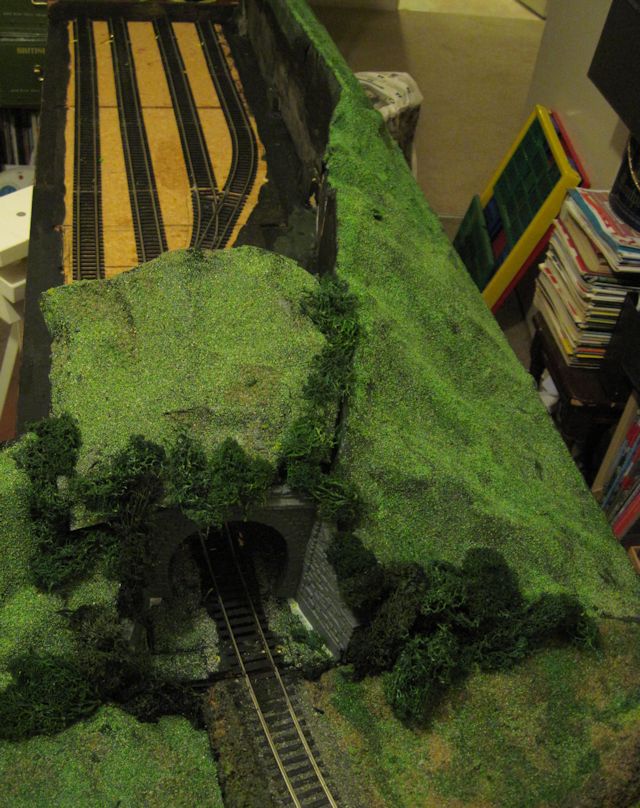
Finally a view from the tunnel along the whole scenic area to the station..
22/11/2009 The extension has been built and normal life is resuming in our household.
Whilst I was packing up Burton Crumpnold I had an idea for another project to run alongside Burton Phoenix with no space for a large ‘OO’ layout for a year or two.
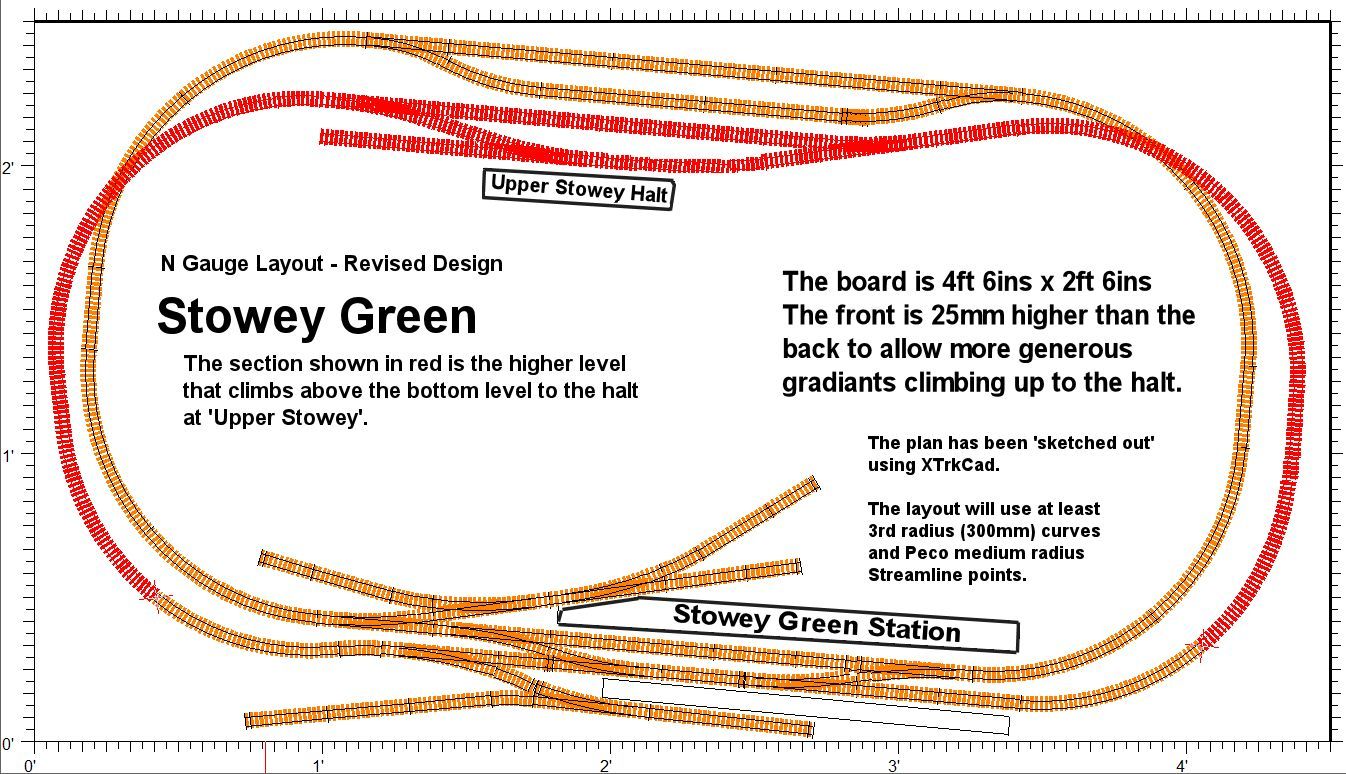
It is a small( 4ft 6ins x 2ft 6ins) GWR ‘N’ Gauge layout ‘Stowey Green’, this is a fictitious location in Somerset, close to the Somerset & Dorset line which would allow the occasional LMS ‘ visitor’…
Here is the initial ‘sketch design’ of the layout.
It is a twin loop design with a low level oval and a second oval that climbs to a small upper station and then descends back to the lower one. In order to keep the gradients reasonable the baseboard has been built so it is 30mm higher at the front than at the back.
The baseboard was been build from the usual 2x1inch timber with a plywood top. The top has been covered with cork to help deaden the sound.
5th October 2008 It has been an ‘interesting’ year – with little time for Burton …As can be read in the ‘What’s New’ The Last train for the original Burton Crumpnold Layout ran in September… I needed to put the layout away as the room it has been living has no roof at the moment – whilst we have an extension built above it.. In addition to this my nagging dissatisfaction with the track issues at the rear of the layout has made me decide to ‘Decommission’ the layout. (OK Keep the Buildings etc trash the track).Coming out of the ashes of Burton Crumpnold is a portable ‘End To End’ layout built from the upper station sections and a new fiddle yard. Hopefully I will be able to run this layout at exhibition (If they will have me..)
Here is a ‘Last Running’ Photo of the Layout, with all buildings removed…
.. Plus a sad sight of the layout ready for the Skip… After my experiences with curved points these were not recycled……
Lots of things have been going on – but sadly no updates. The biggest task has been to make the website work after I changed service providers – all should be OK now.
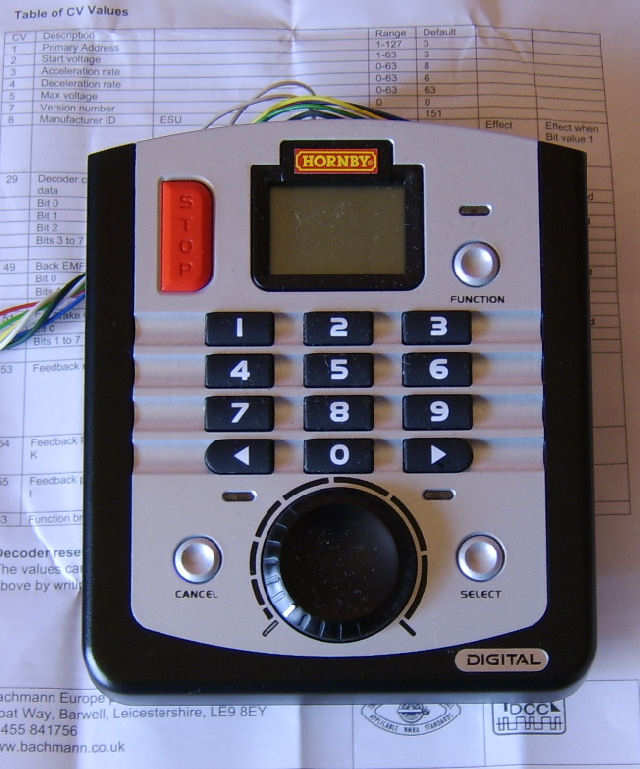
I have also dipped my toe into the land of DCC. I bought a Pendolino DCC train set during the summer, the Pendolino was on my shopping list plans for the year and the digital train set seemed a great way to have a look at what DCC can offer.
With very minor changes to the control panel – mostly involving rewiring the ‘power feed’ plug – I managed to change the layout to DCC operation. The only issue with just using the Hornby select controller it that there is not enough ‘omph’ from the 15v supply to properly operate the points. This will just involve having a separate supply for the point CDU.
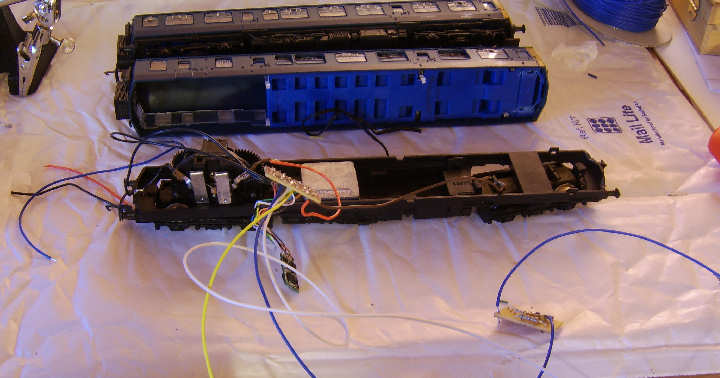
I have had a go adding DCC decoders to my DCC ready Class 121 DMU and Class 57 loco. I am also investigating upgrading my class 110 DMU to DCC – with lights. We will see if my soldering is up to the job…..
Playing with DCC – Next time use shorter wires…
Hornby Select Controller – Basic – But Fun
Other acquisitions of the past couple of months are a class 166 Turbo DMU – special offer from Rails and a surprise from Hornby in releasing the GWR liveried LBSCR ‘Terrier’. I have added all these to the stock pages with photographs etc.
The next major ‘Website’ task is to add the freight rolling stock pictures and details pages… Lets see how long these will take…
I have completed most of the scenery (for now!!) I have taken some more pictures and Updated the ‘Photographs’ pages. For a while I’m planning to enjoy ‘playing trains’ over the summer. Then it’ll be time to up date the scenery and add pictures to the freight and road vehicle stock pages.
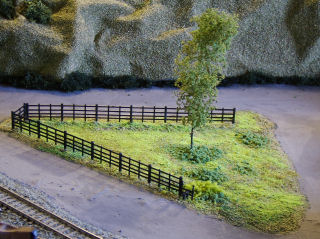
I’ve been continuing with the scenery – particularly the upper station area which I have neglected until now. I have been also adding fencing the stations and improved the look of the ‘green’ areas of the layout. The work has been sporadic up till June but is going well now. All being well I will be done by the end of this month.
Father Christmas has come to Burton…. The Hornby Class 121 ‘Bubblecar’ DMU and GWR railcar have arrived along with the Bachmann Class 108 DMU. I will add the photographs soon.
Been busy on Ebay this week having a bit of a stock clearout – Mostly stuff that has been ‘upgraded’ or just will not get proper use. I’m planning to use the proceeds to buy the Hornby Blue Class 121 and GWR railcars (when they arrive).
Now the Summer Holidays (and Summer) are a dim and distant memory it is now time to get back the the layout. I have almost finished photographing the stock, I finished the Corporate Blue BR, Virgin and Thomas stuff this afternoon assisted by the afternoon sunshine, there are just a few items left to do. I am very limited by daylight as the ‘railway room’ is rather dark, even with all the lights on…. I am planning to ease this problem during a trip to Ikea later this month when I can get some suitable lighting. An upside to photographing the stock is that I’ve been able to take a few extra ‘layout’ pictures, particularly of the more modern stock.