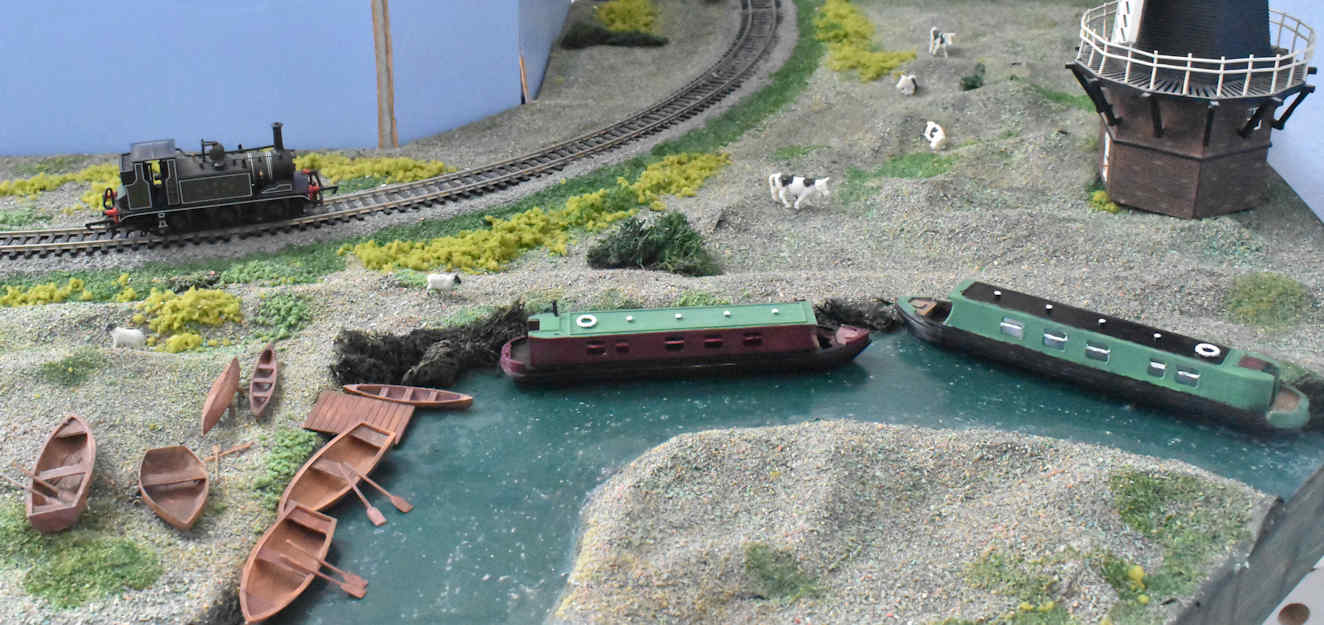
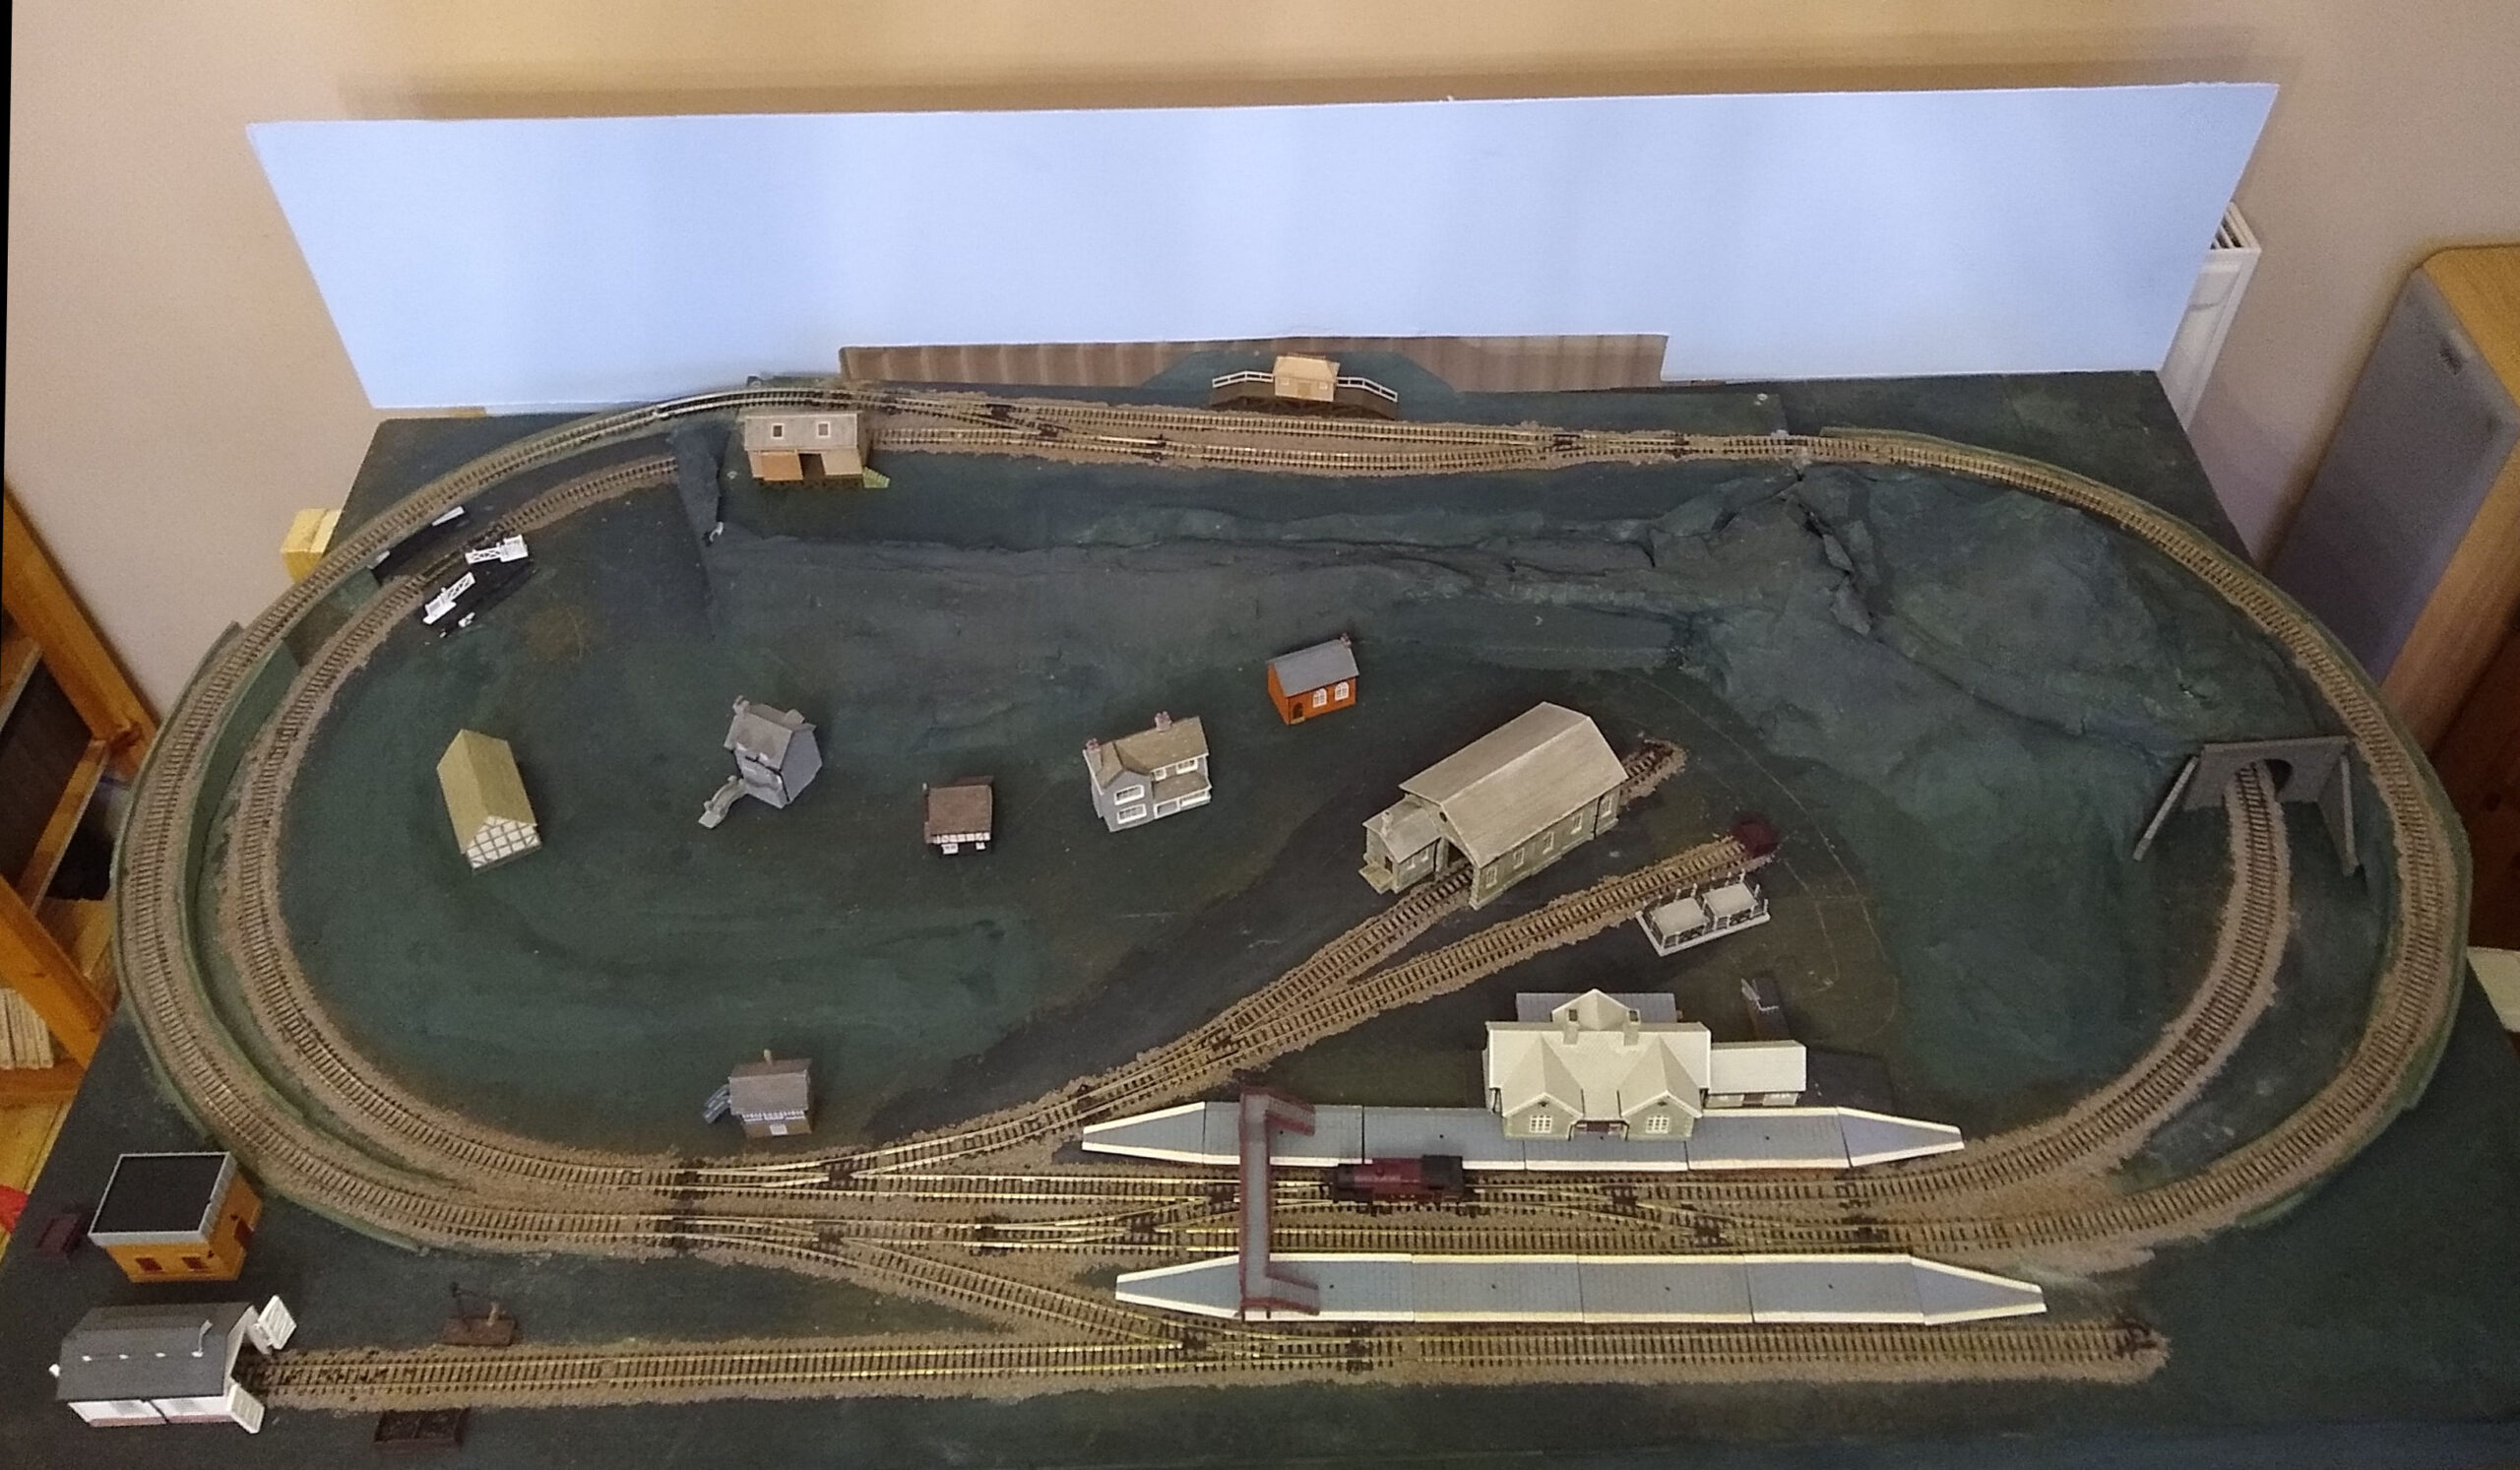
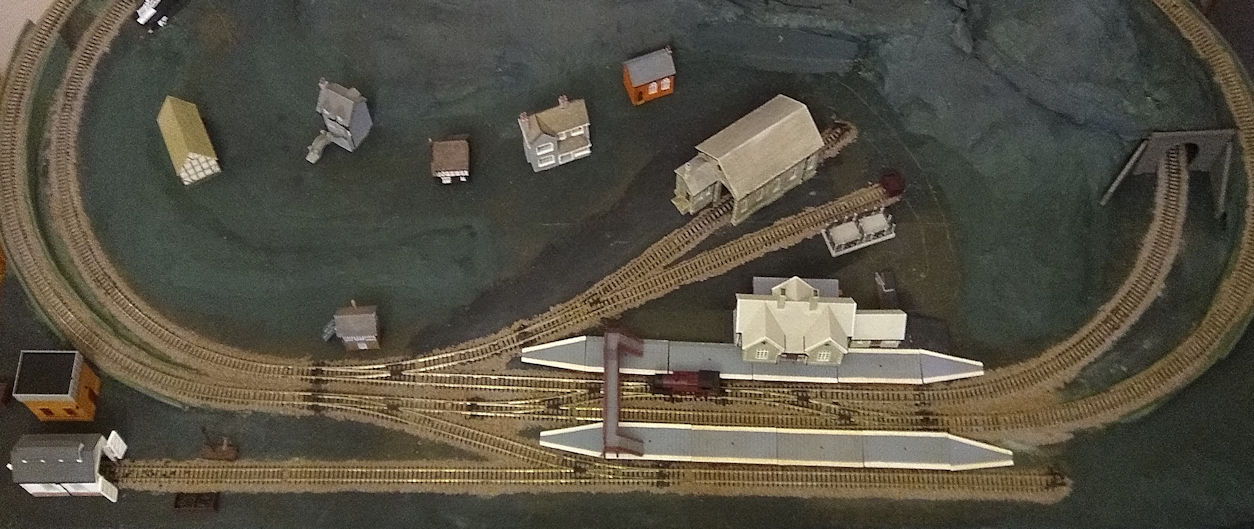
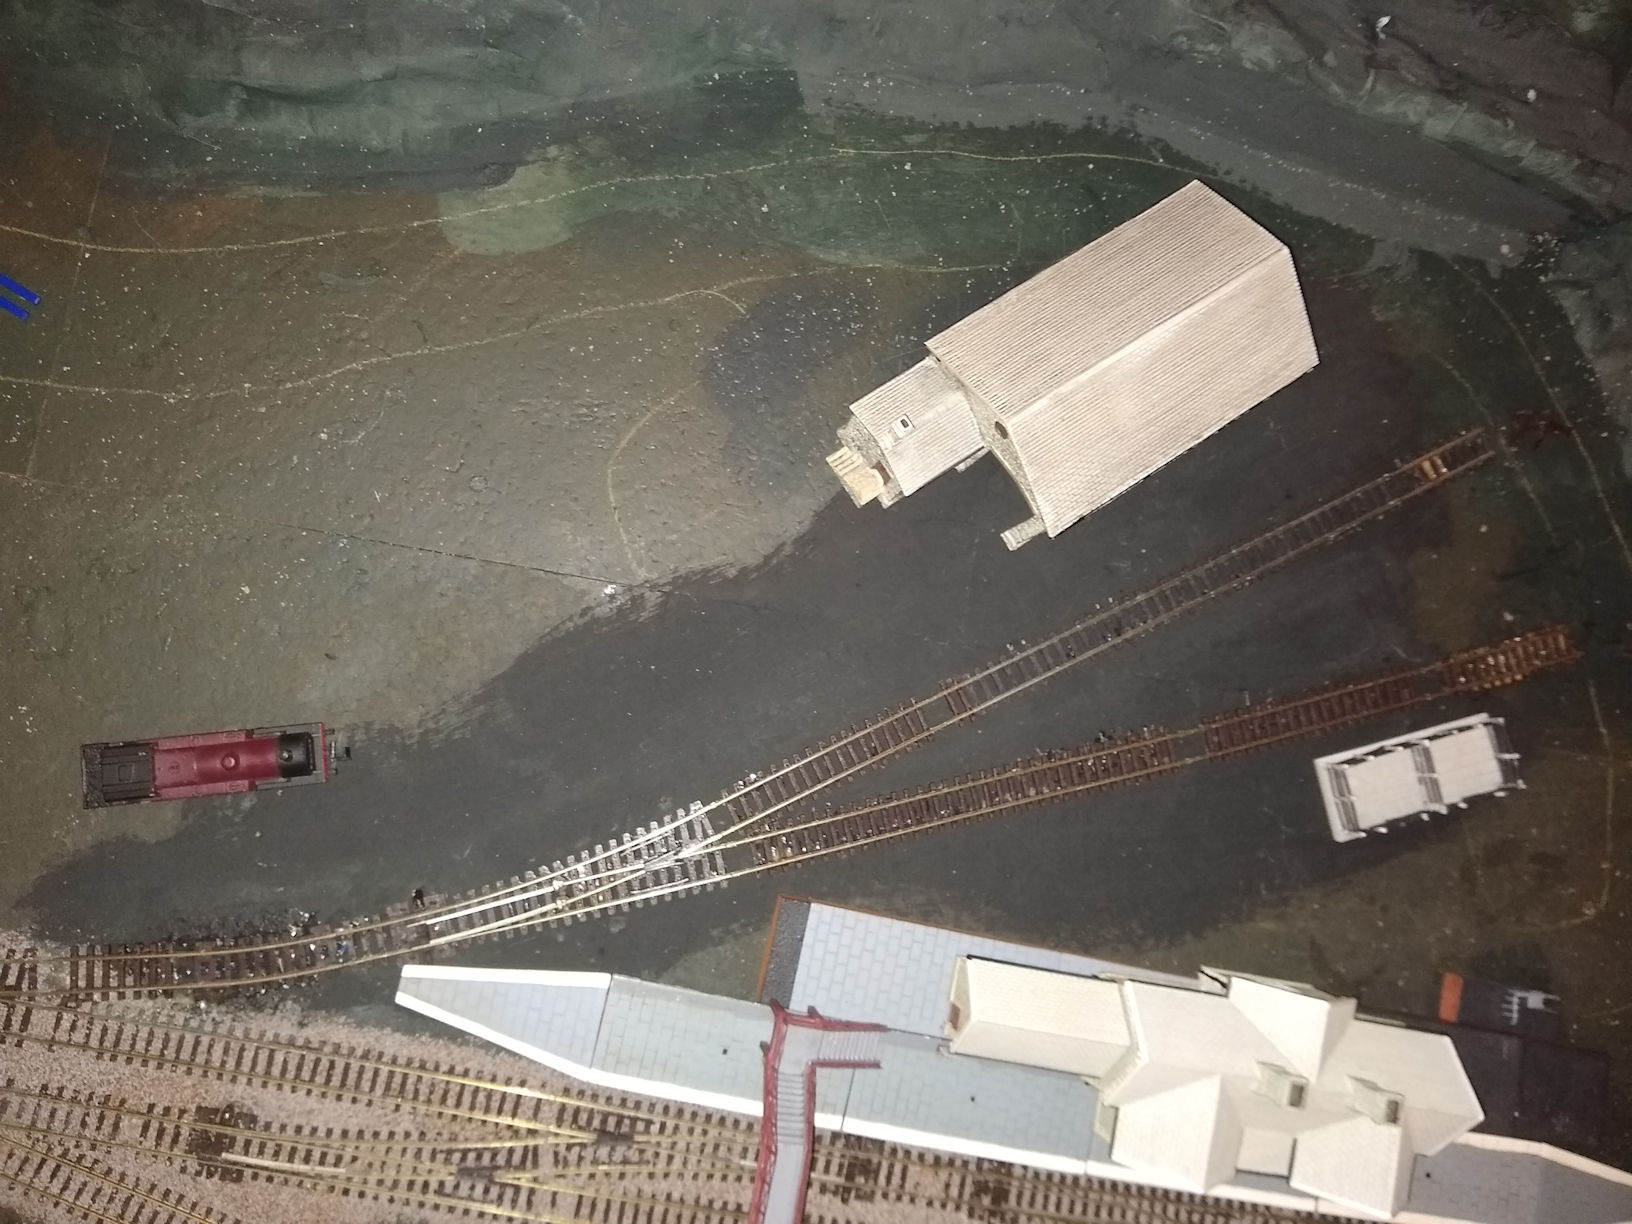
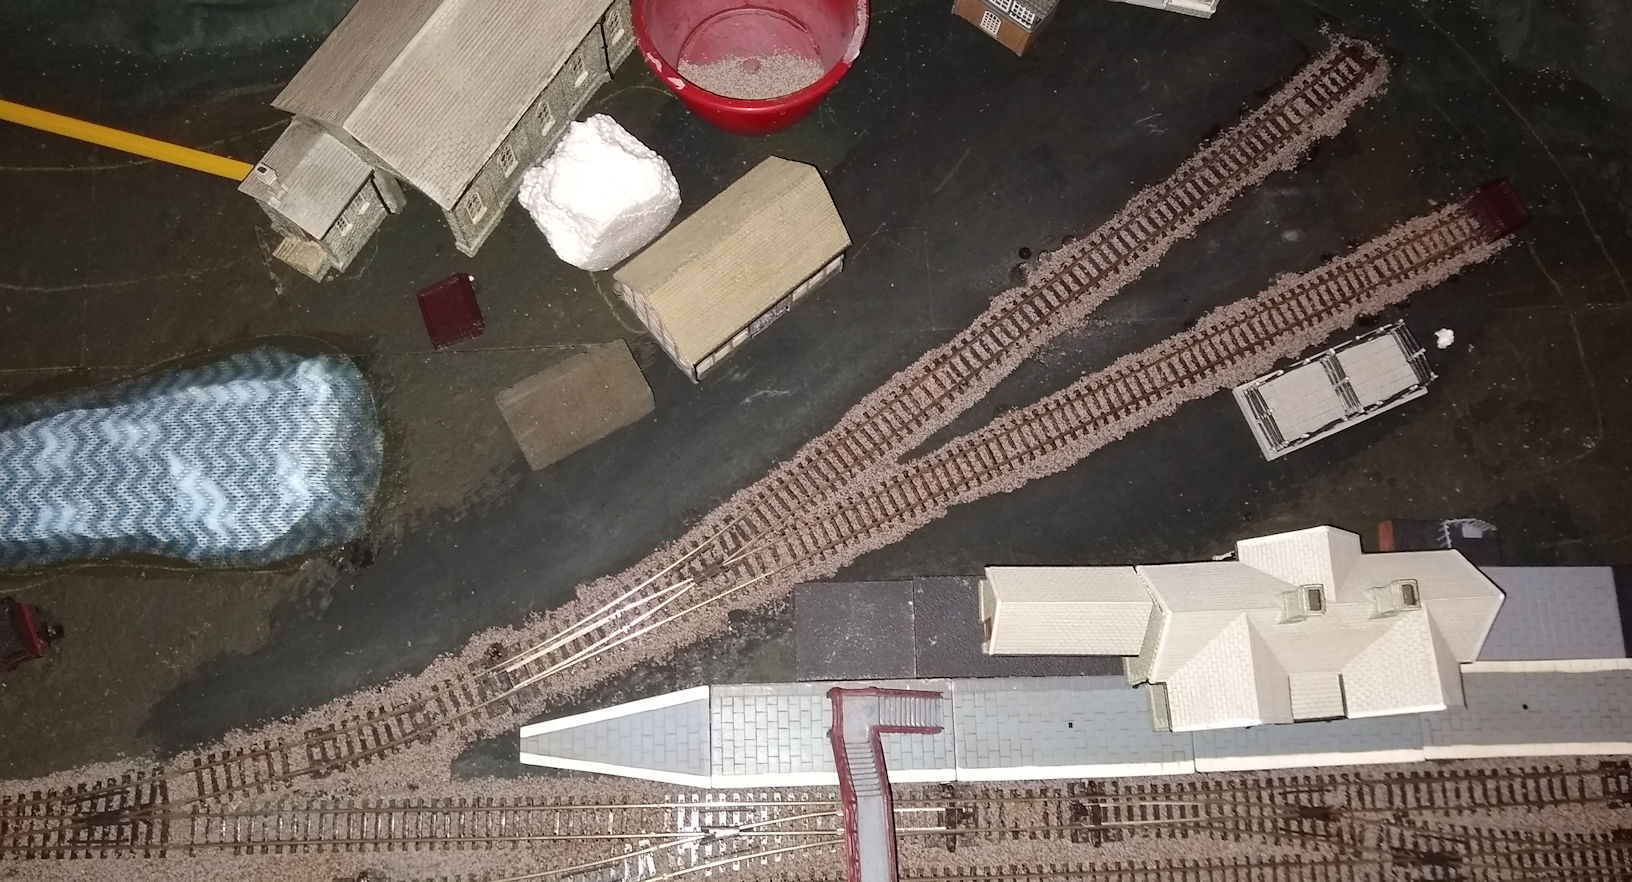
Almost 2 years after it was started the Burton Phoenix corner addon is ‘complete’.
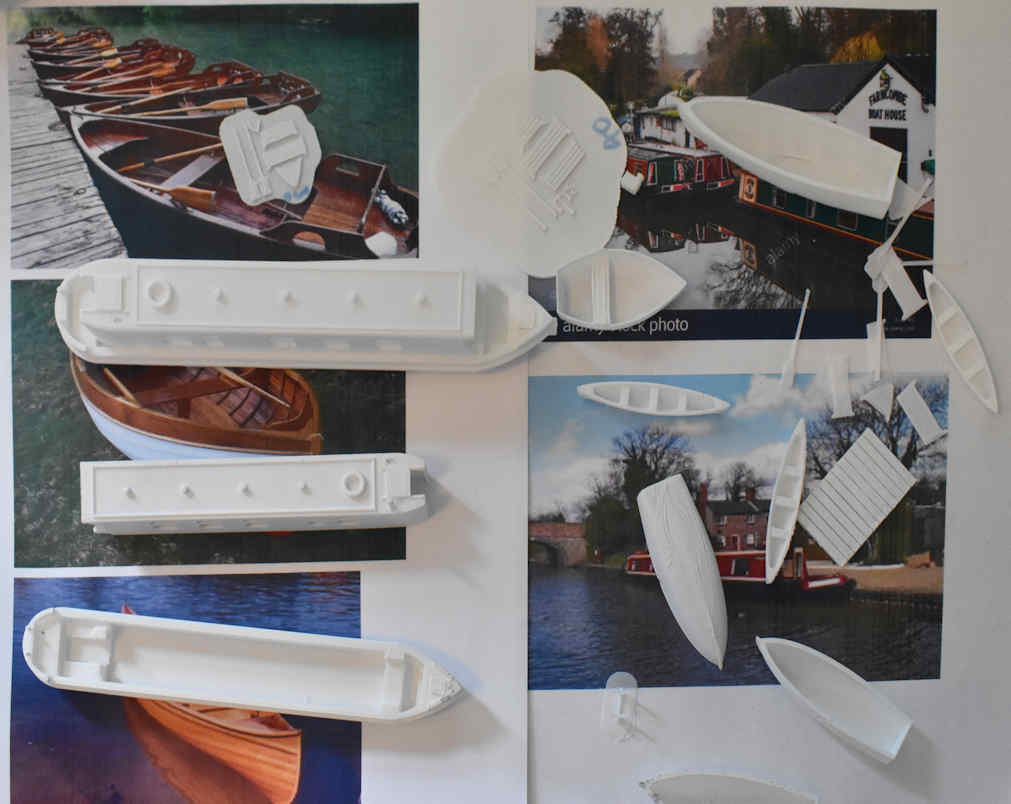
All this is really thanks to the 3D printer. I have ‘printed’ the boats including oars etc, jetty and the tents.
After giving the canal boats an initial paint I discovered that you can get laser/inkjet printed water slide transfers. So here they are on the Narrow Boats ‘Chez Câmilla’ and ‘KingFisher’. These allow for far more detail than my current painting skills allow for.
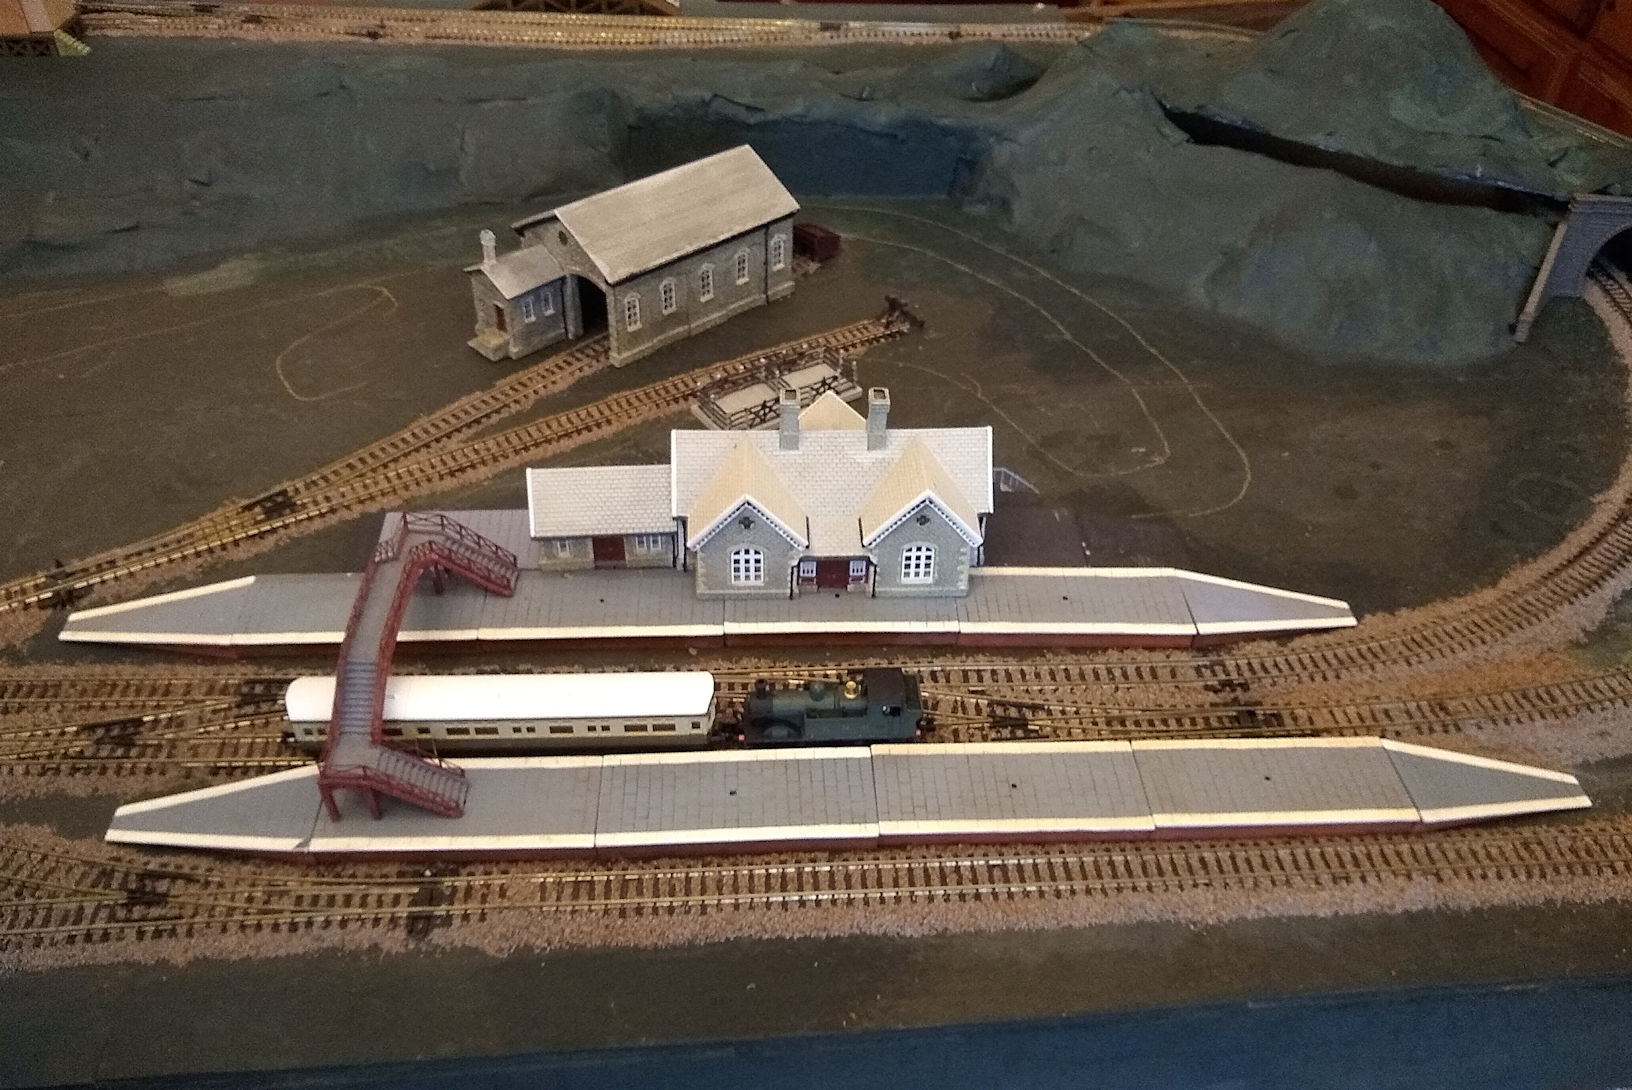
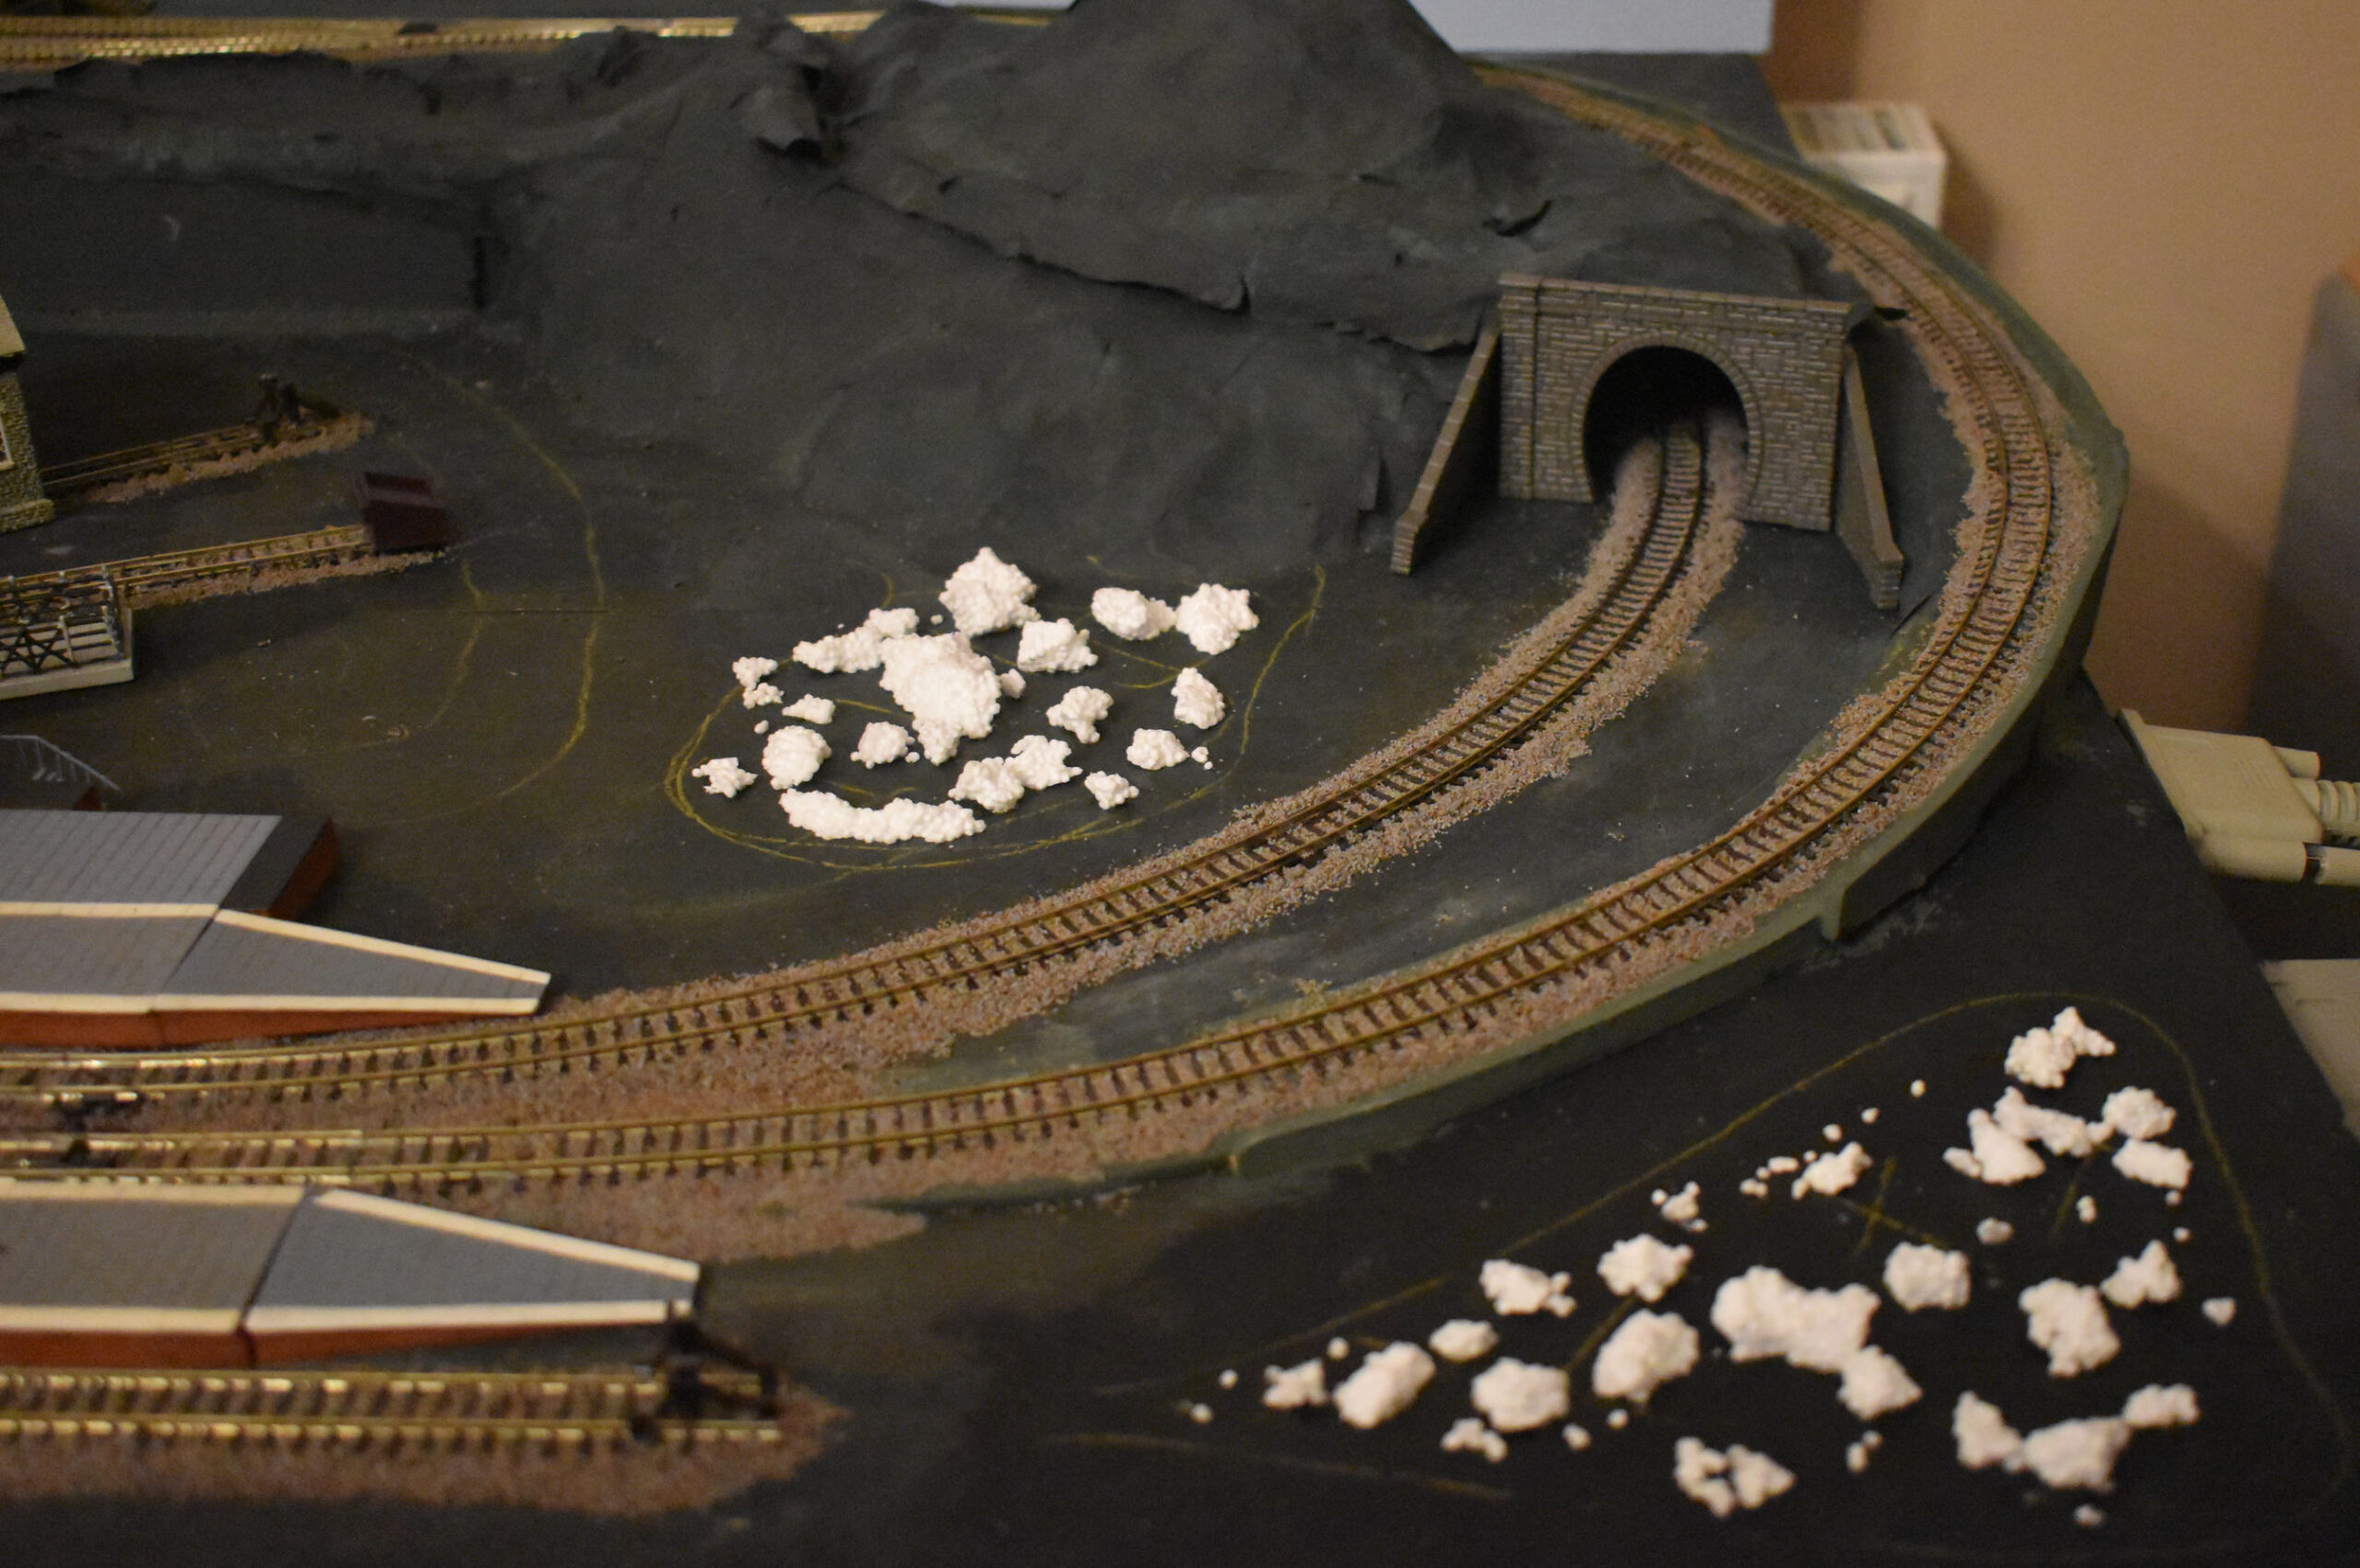
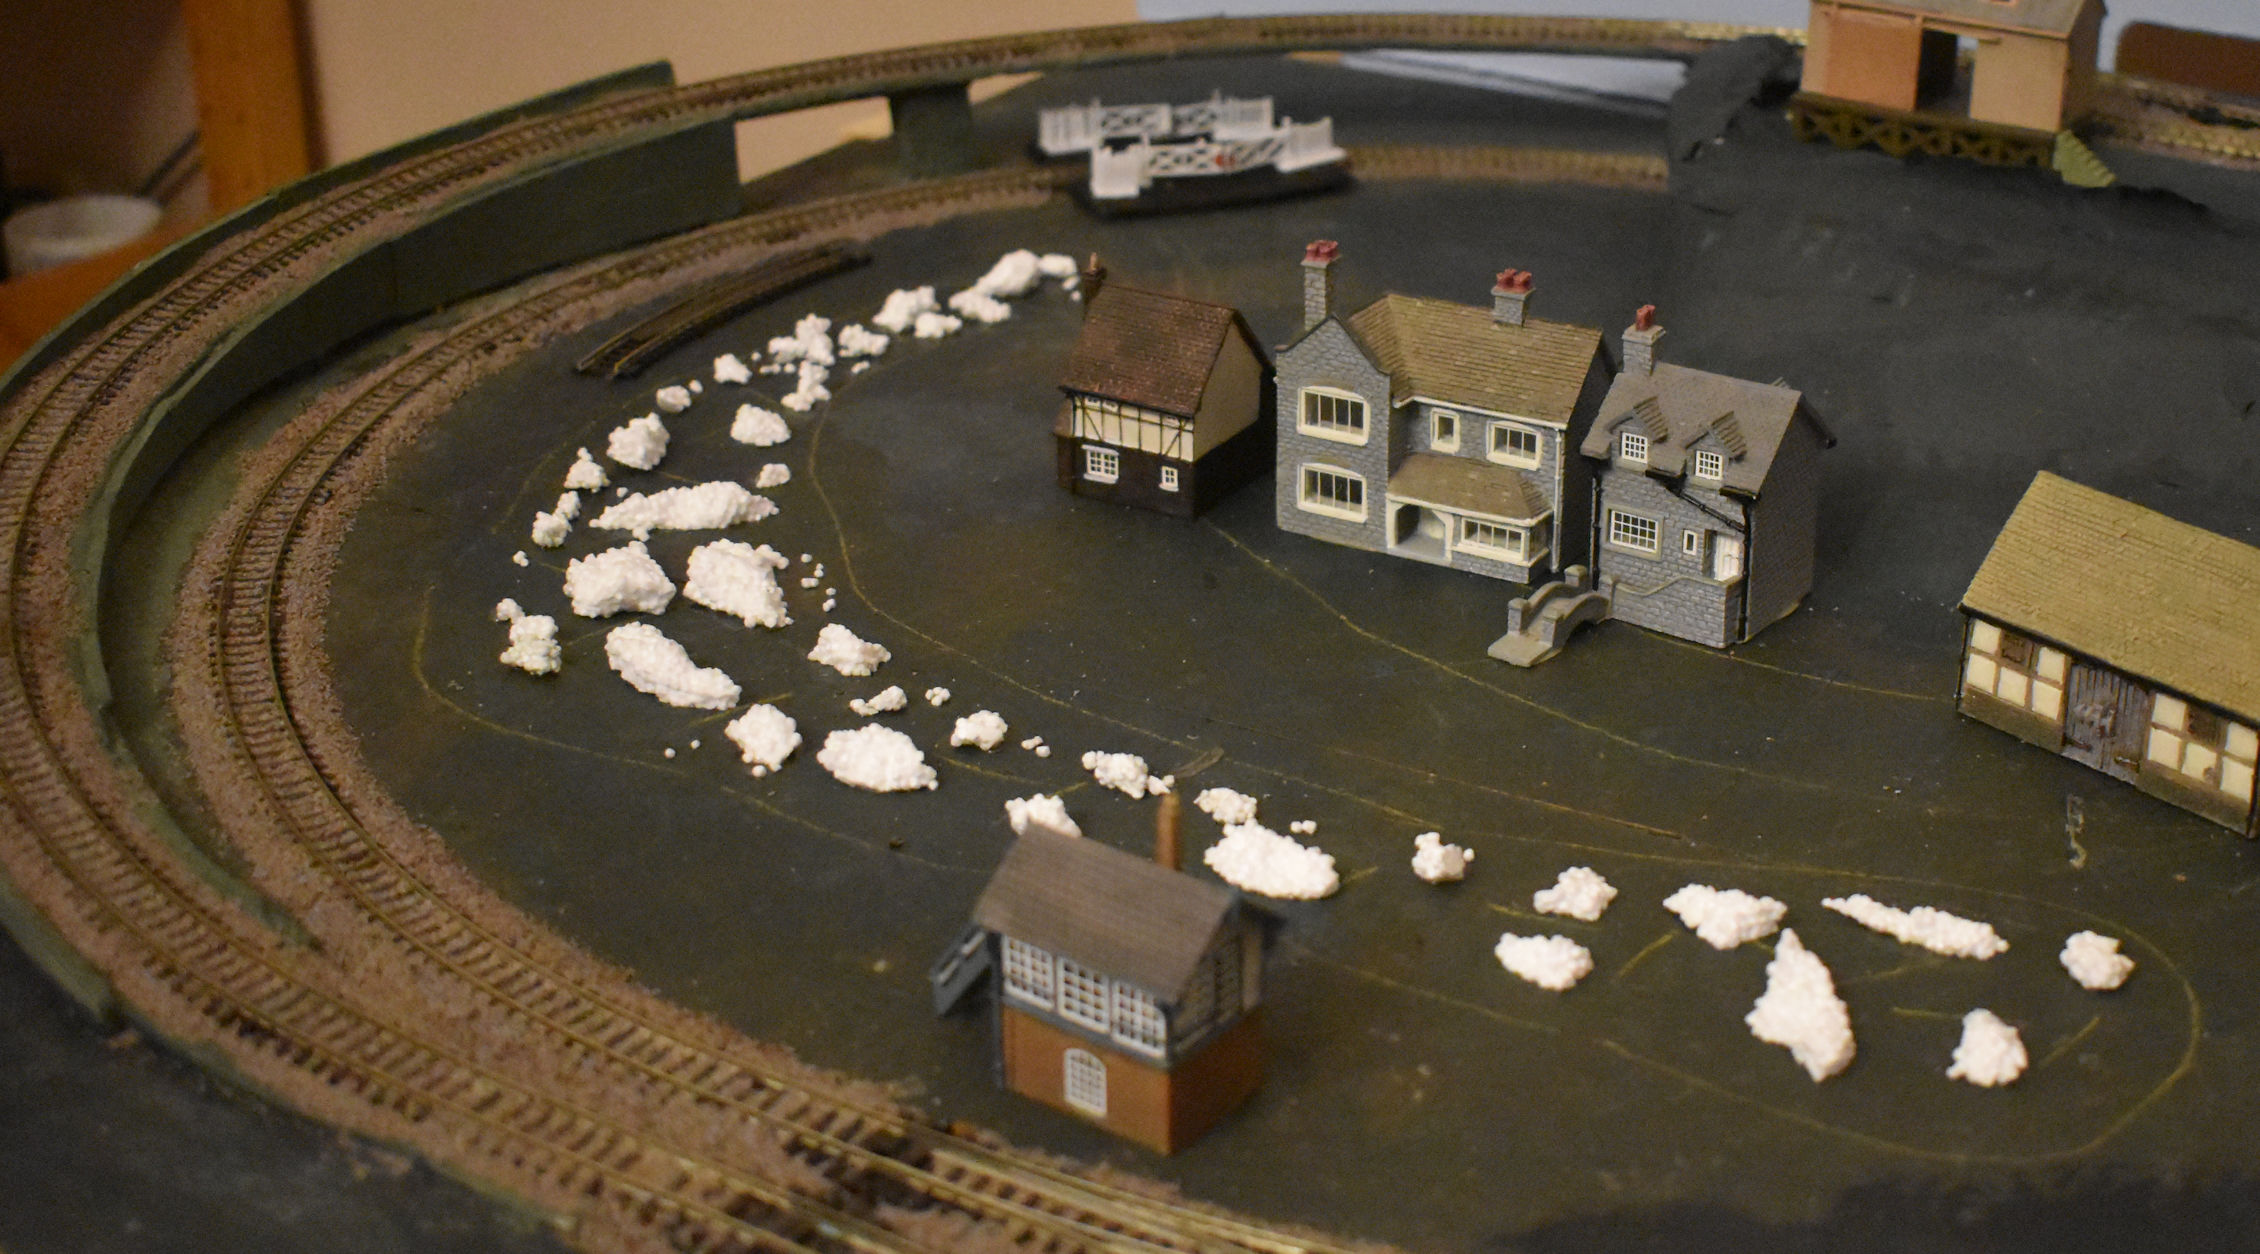
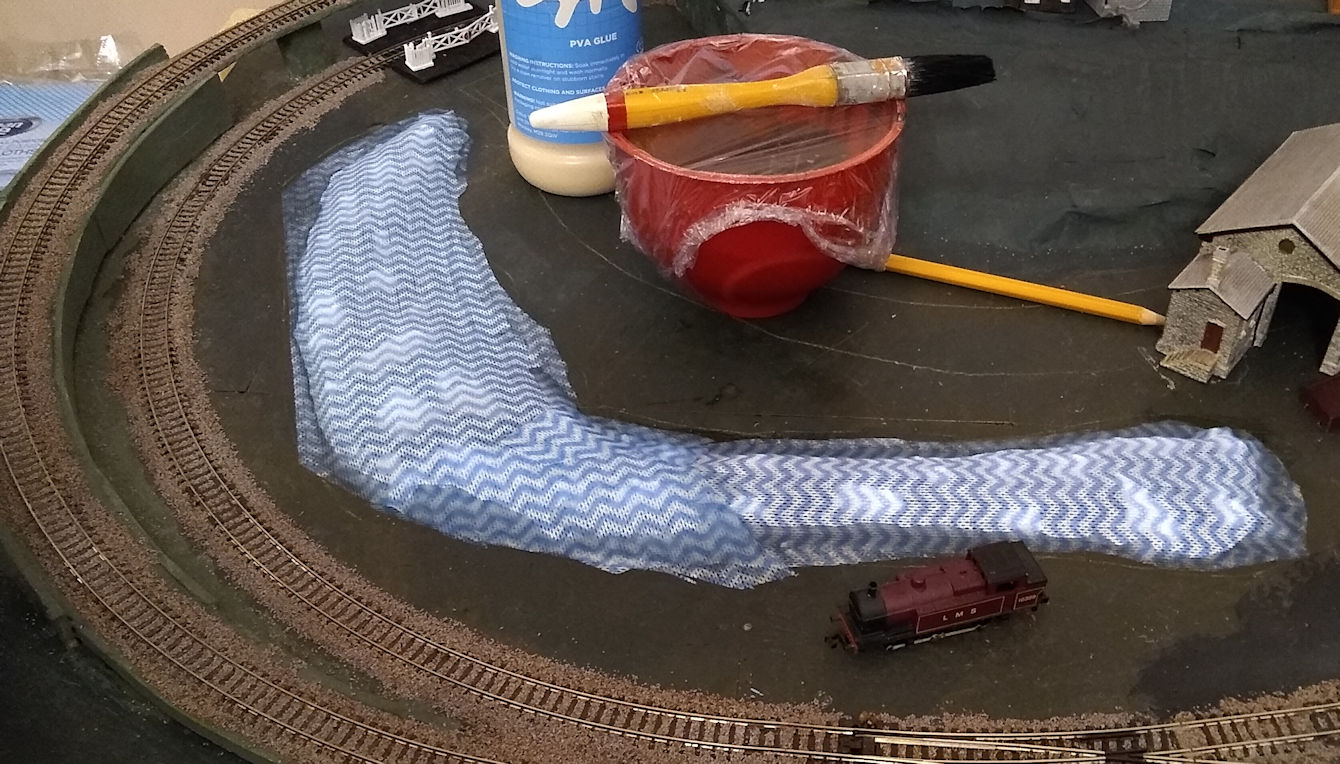
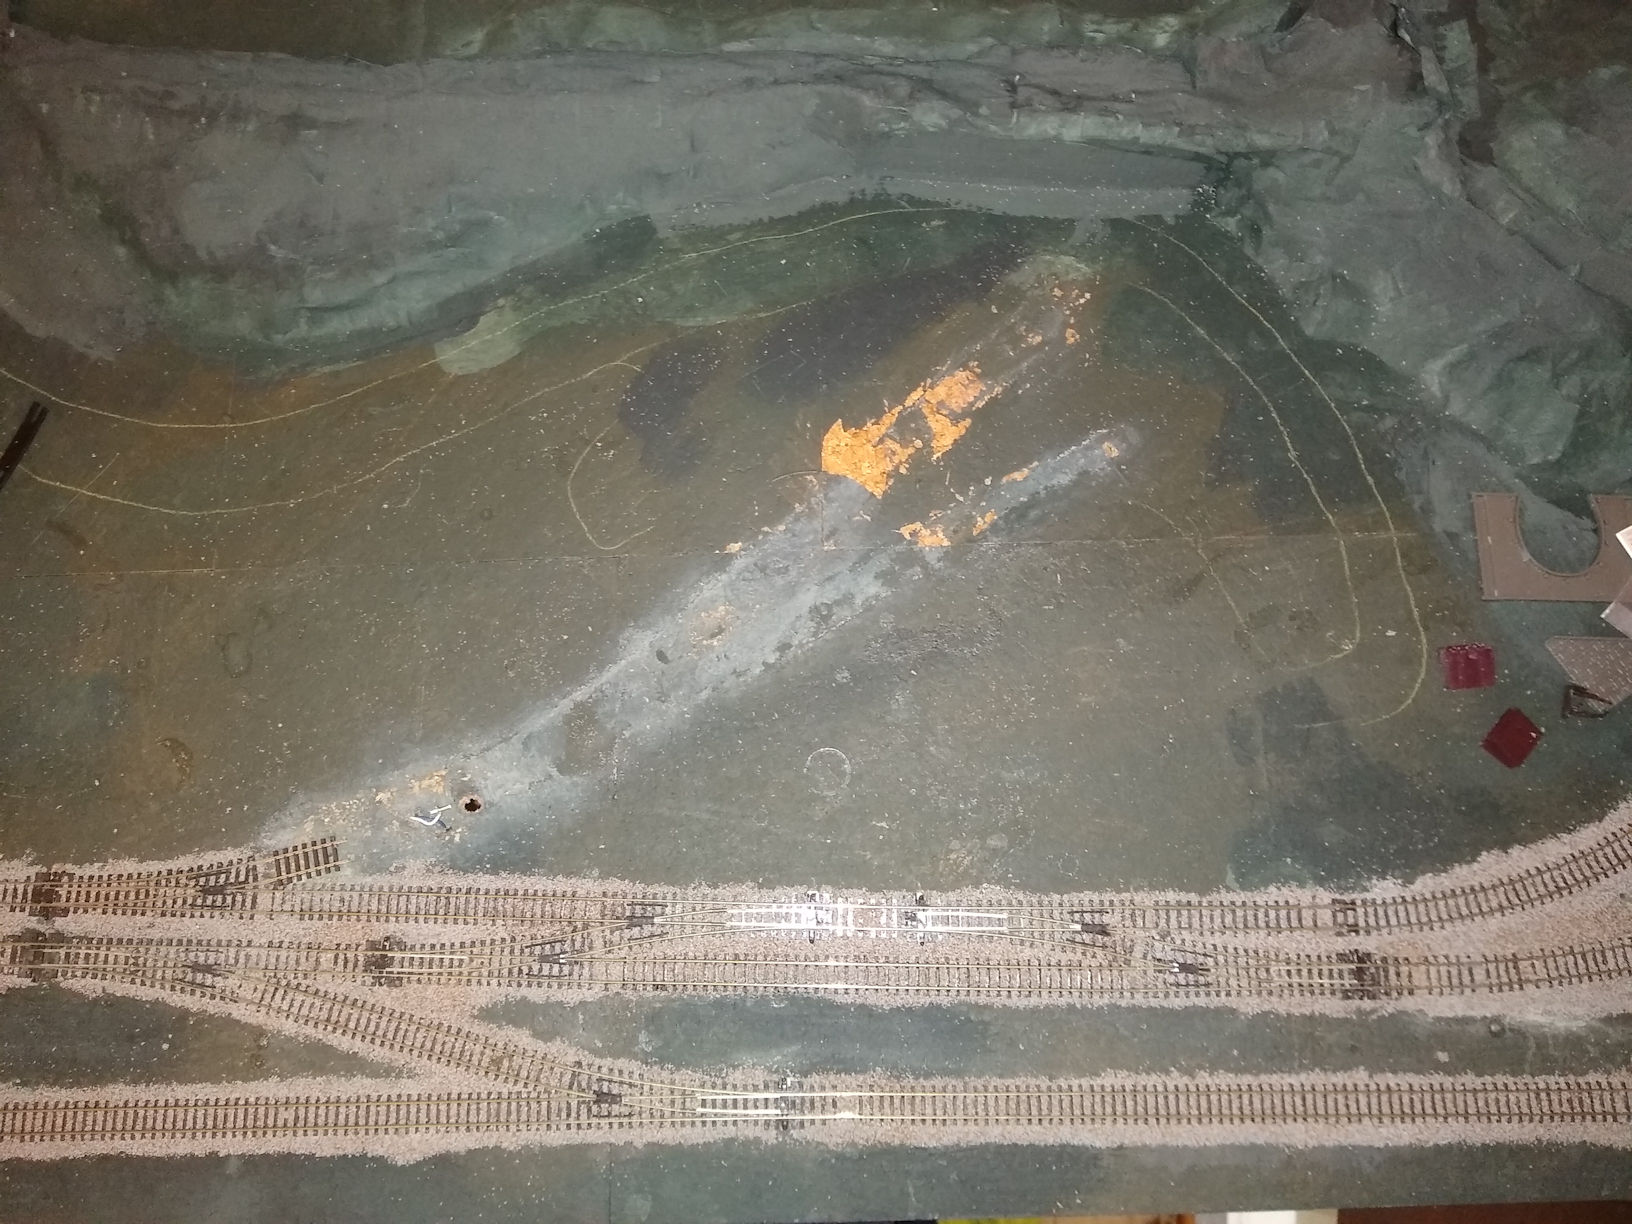
I have also undertaken an improvement to the scenic look scenery. It has all all been ‘greened’ up – so everything looks green and pleasant… rather than a sun scorched desert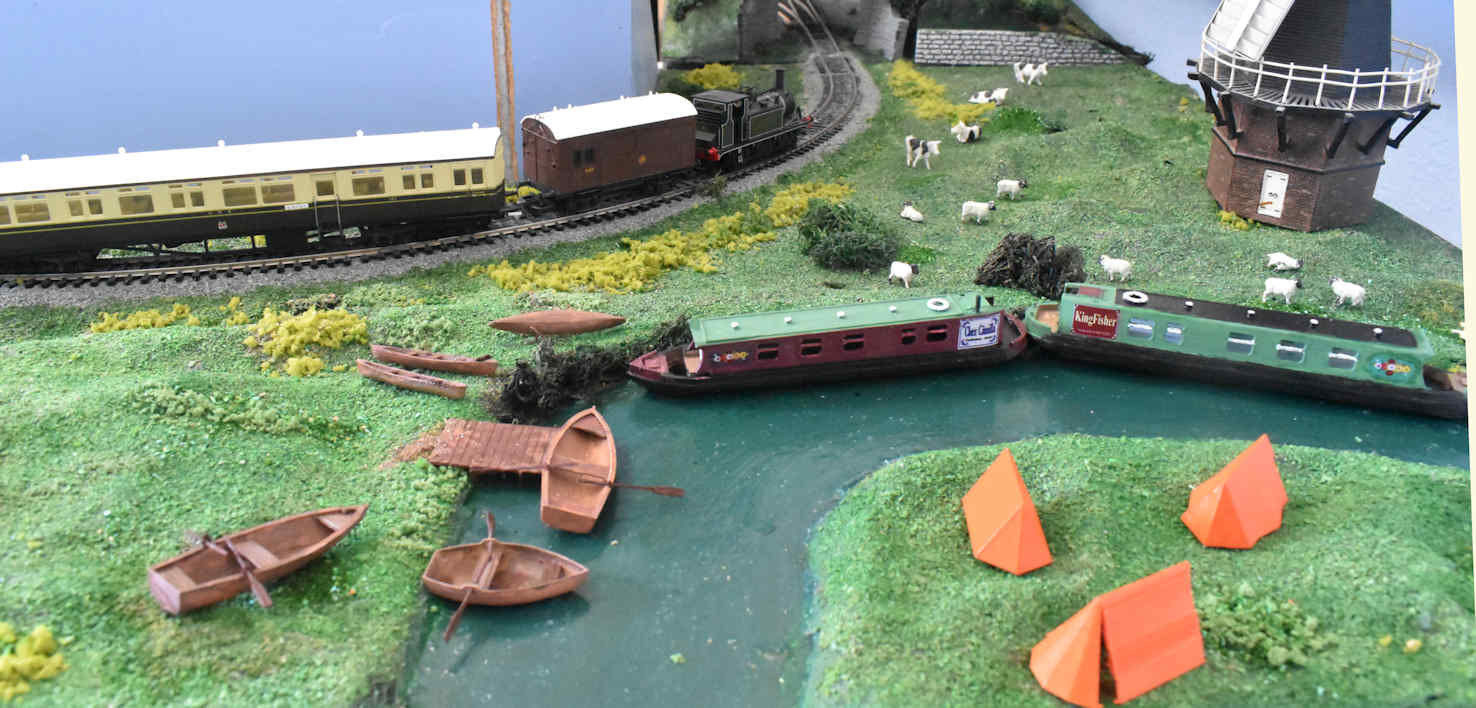
….. for a contrast you just have to see the previous post…. (Or Here… )
 .
.
 .
.